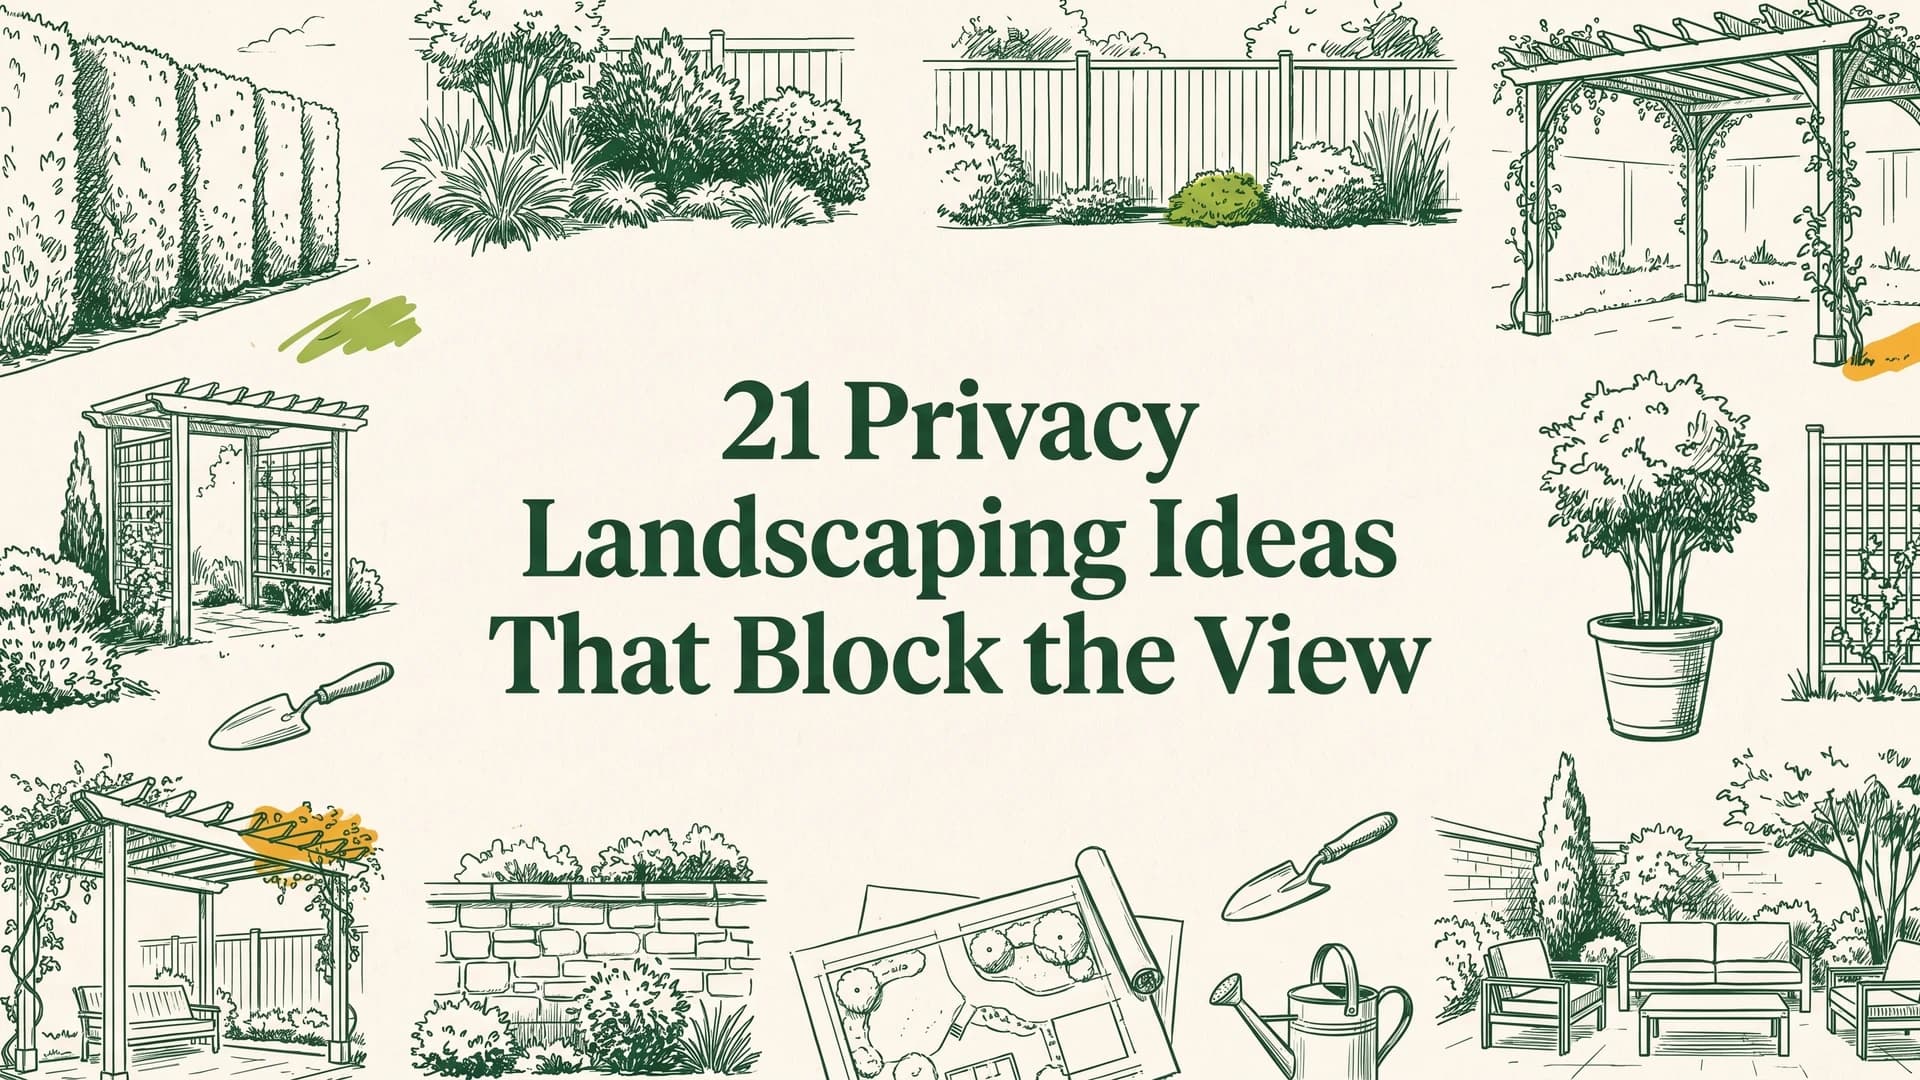
21 Privacy Landscaping Ideas That Block the View
Most yards do not need a wall around the whole property line. They need 20 feet of screen in the right place. These 21 privacy landscaping ideas cover living screens, structures, small-space fixes, and the spots worth screening first, with honest timelines and height rules.
You do not need to wall in the whole yard. Stand where you actually sit, on the patio, at the kitchen sink, in the hot tub, and look at what genuinely bothers you. Nine times out of ten it is two upstairs windows and a stretch of driveway, not 200 feet of property line.
That reframe is what most privacy landscaping ideas skip, and it is the difference between a $600 project and a $6,000 one. The 21 below are grouped by approach: living screens, structures you can build in a weekend, small-space and rental fixes, and the few spots worth screening before anything else. Each one says what it costs you in time, space, or patience, because a screen that takes four years to fill is a different decision from one you install on a Saturday. Every image here is an AI-generated design concept rendered from an ordinary yard photo, the same output AI landscape design produces from a picture of yours.
One thing to settle before you buy anything: your local fence height cap (commonly 6 feet in rear yards, 4 in front), your HOA's rules on structures, and any setback that keeps plantings off the line. Height limits almost always apply to fences and walls but not to hedges, which is exactly why planted screens win in so many neighborhoods.
Living screens that do the blocking
1. Plant a fast evergreen hedge, knowing the trade
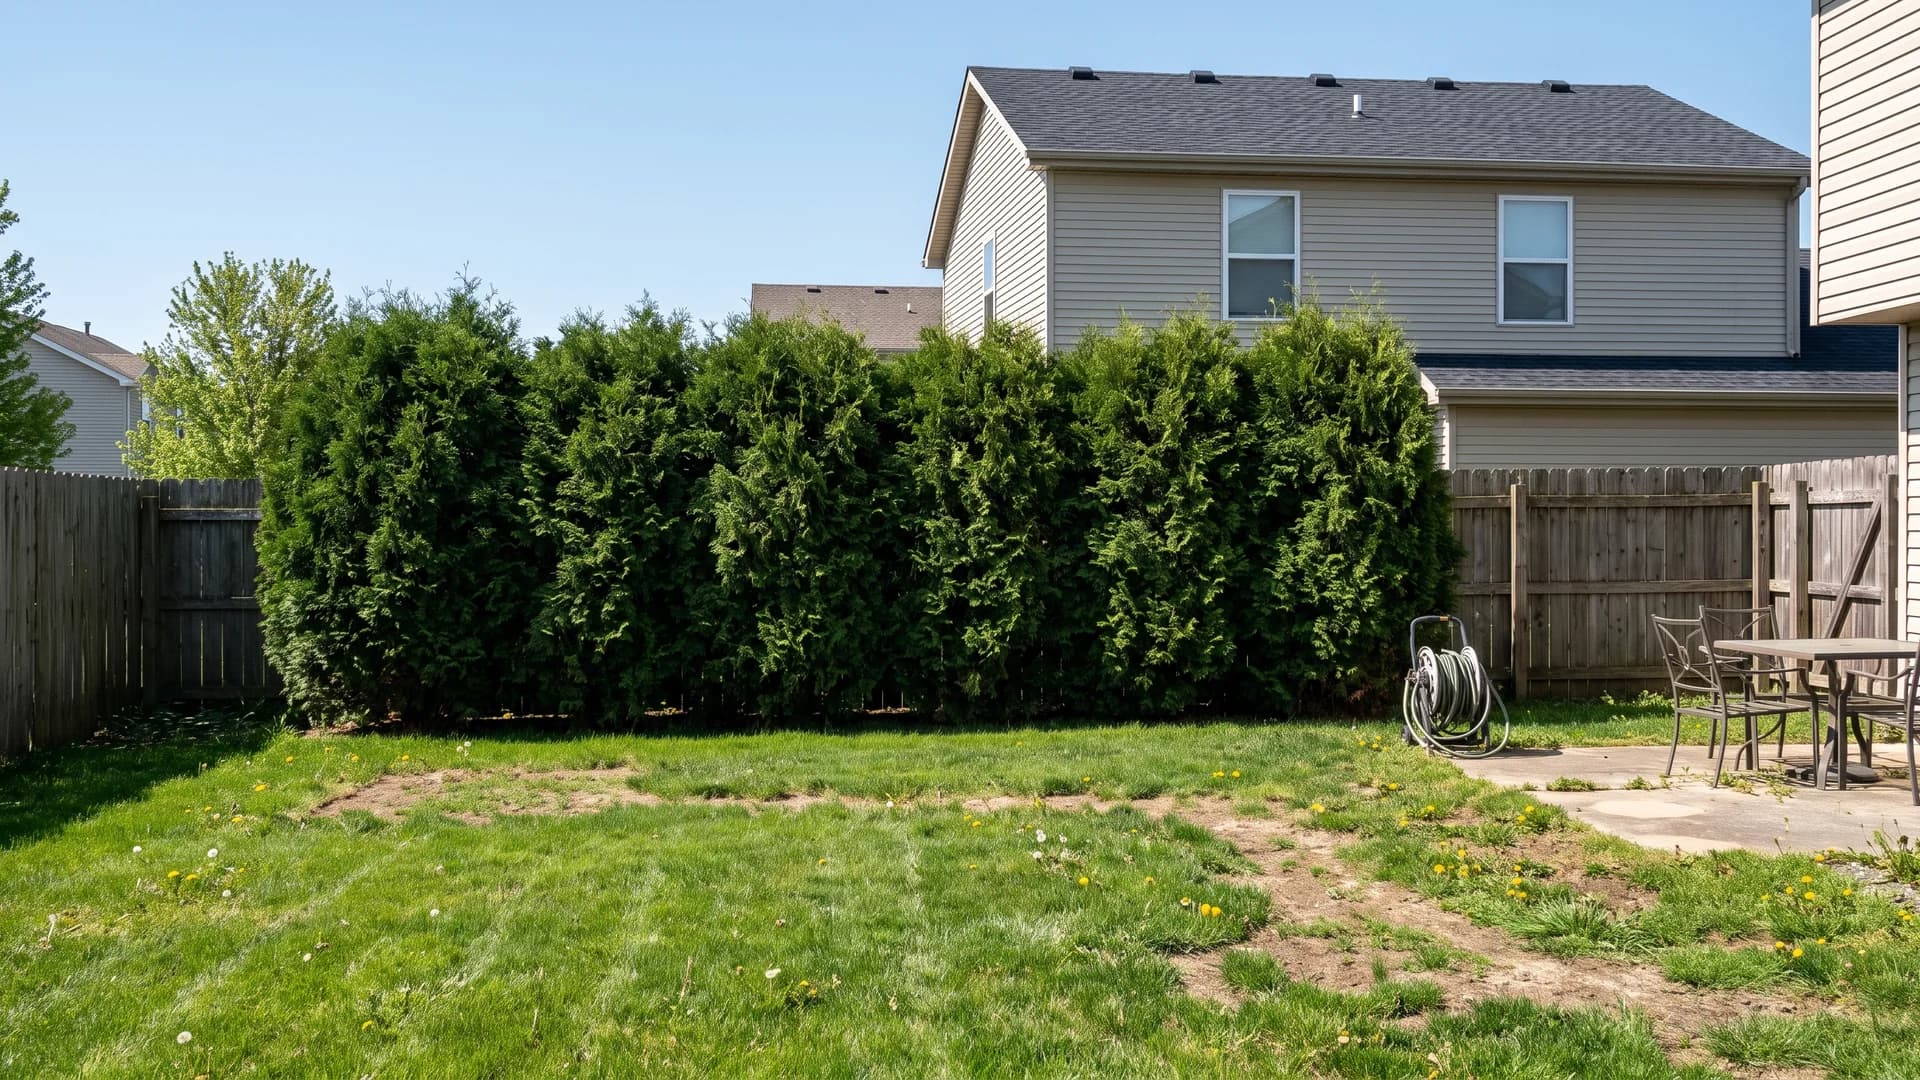
A single-species evergreen row is the most requested privacy planting and the one people most often plant wrong. Green Giant arborvitae puts on 2 to 3 feet a year in zones 5 to 8; Emerald Green manages about a foot but handles zone 3 cold. Space them at roughly two-thirds of their mature width, usually 5 to 6 feet apart, and go in knowing the deal: a wall this solid wants shearing once or twice a year, forever.
2. Mix the species instead of planting forty of one
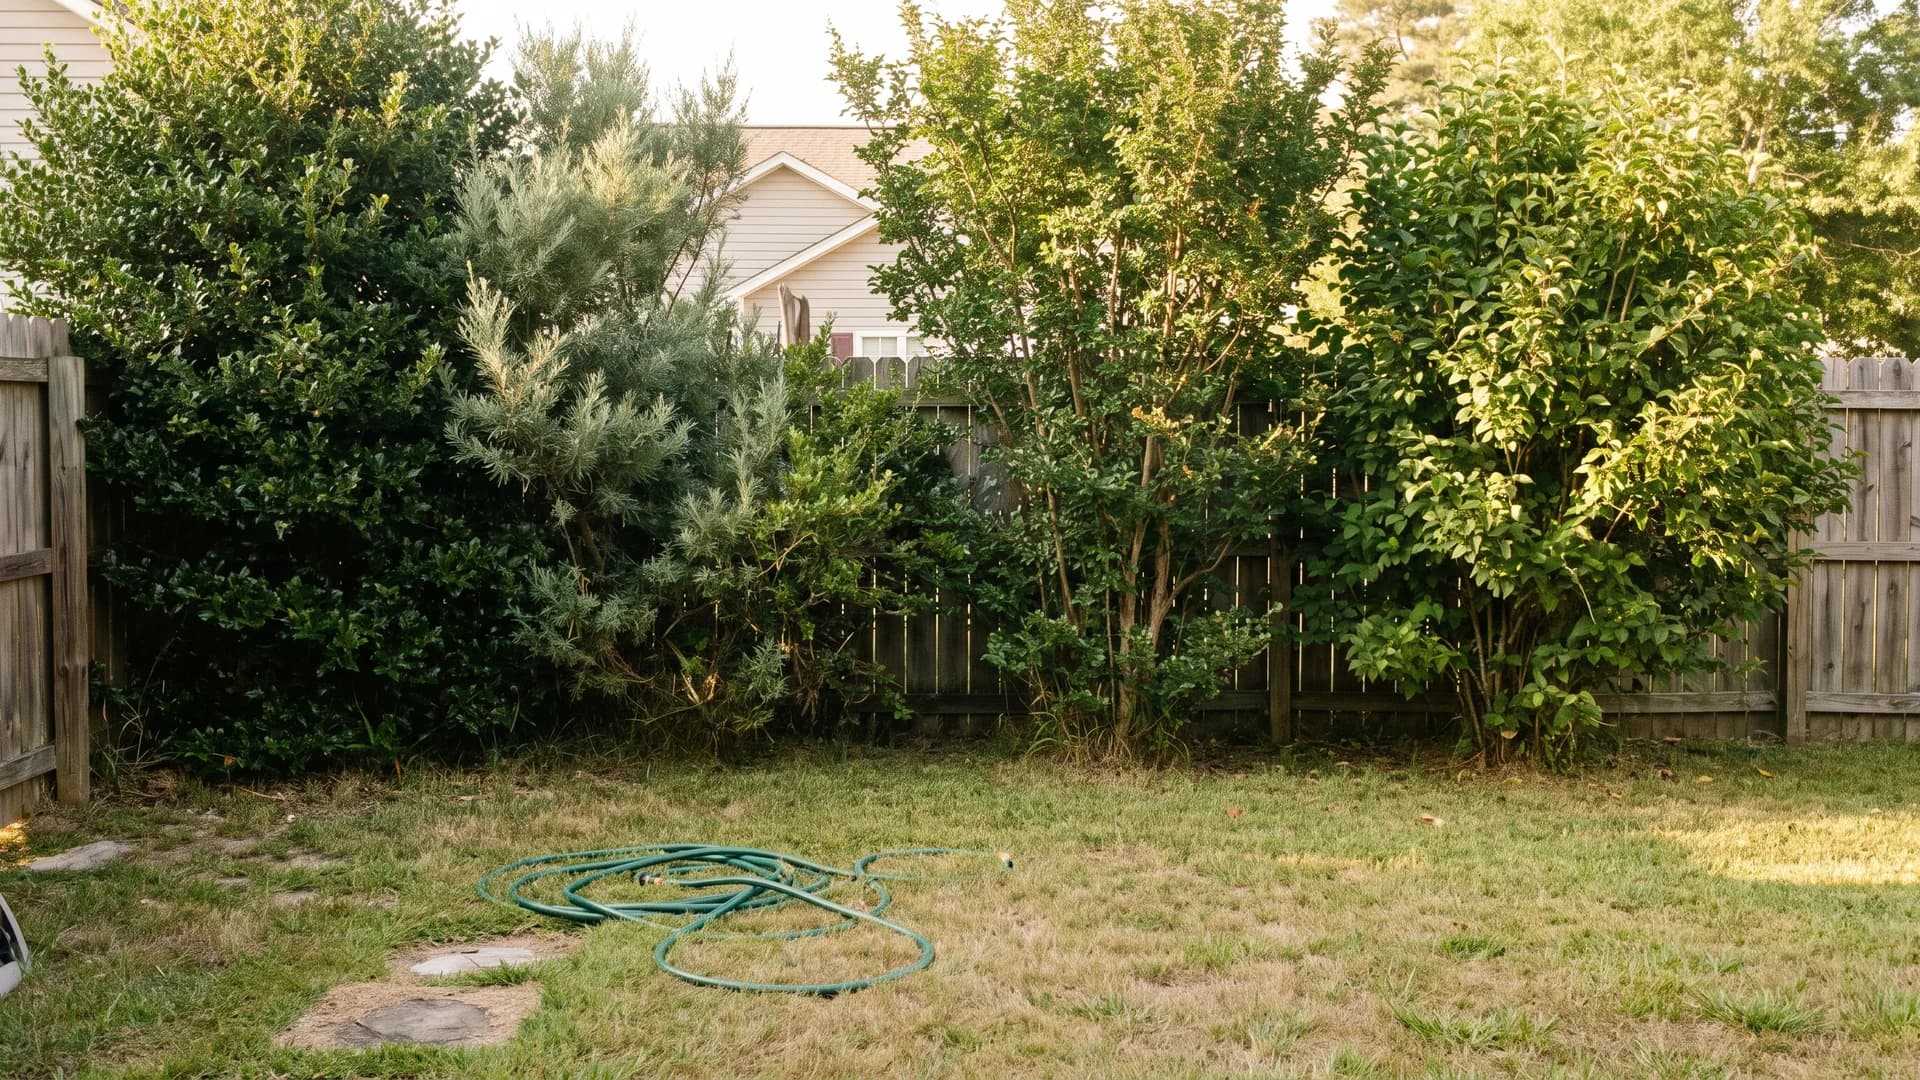
Stagger a holly, a wax myrtle (zones 7 to 10), and two or three viburnums along the same line and the screen stops reading as a hedge. Nothing needs shearing, because the varied outlines are the point, and gaps look like texture rather than a hole. The real payoff is insurance. When bagworm or a brutal winter takes out one species, you lose a plant instead of the entire screen.
3. Layer the planting so privacy is a by-product
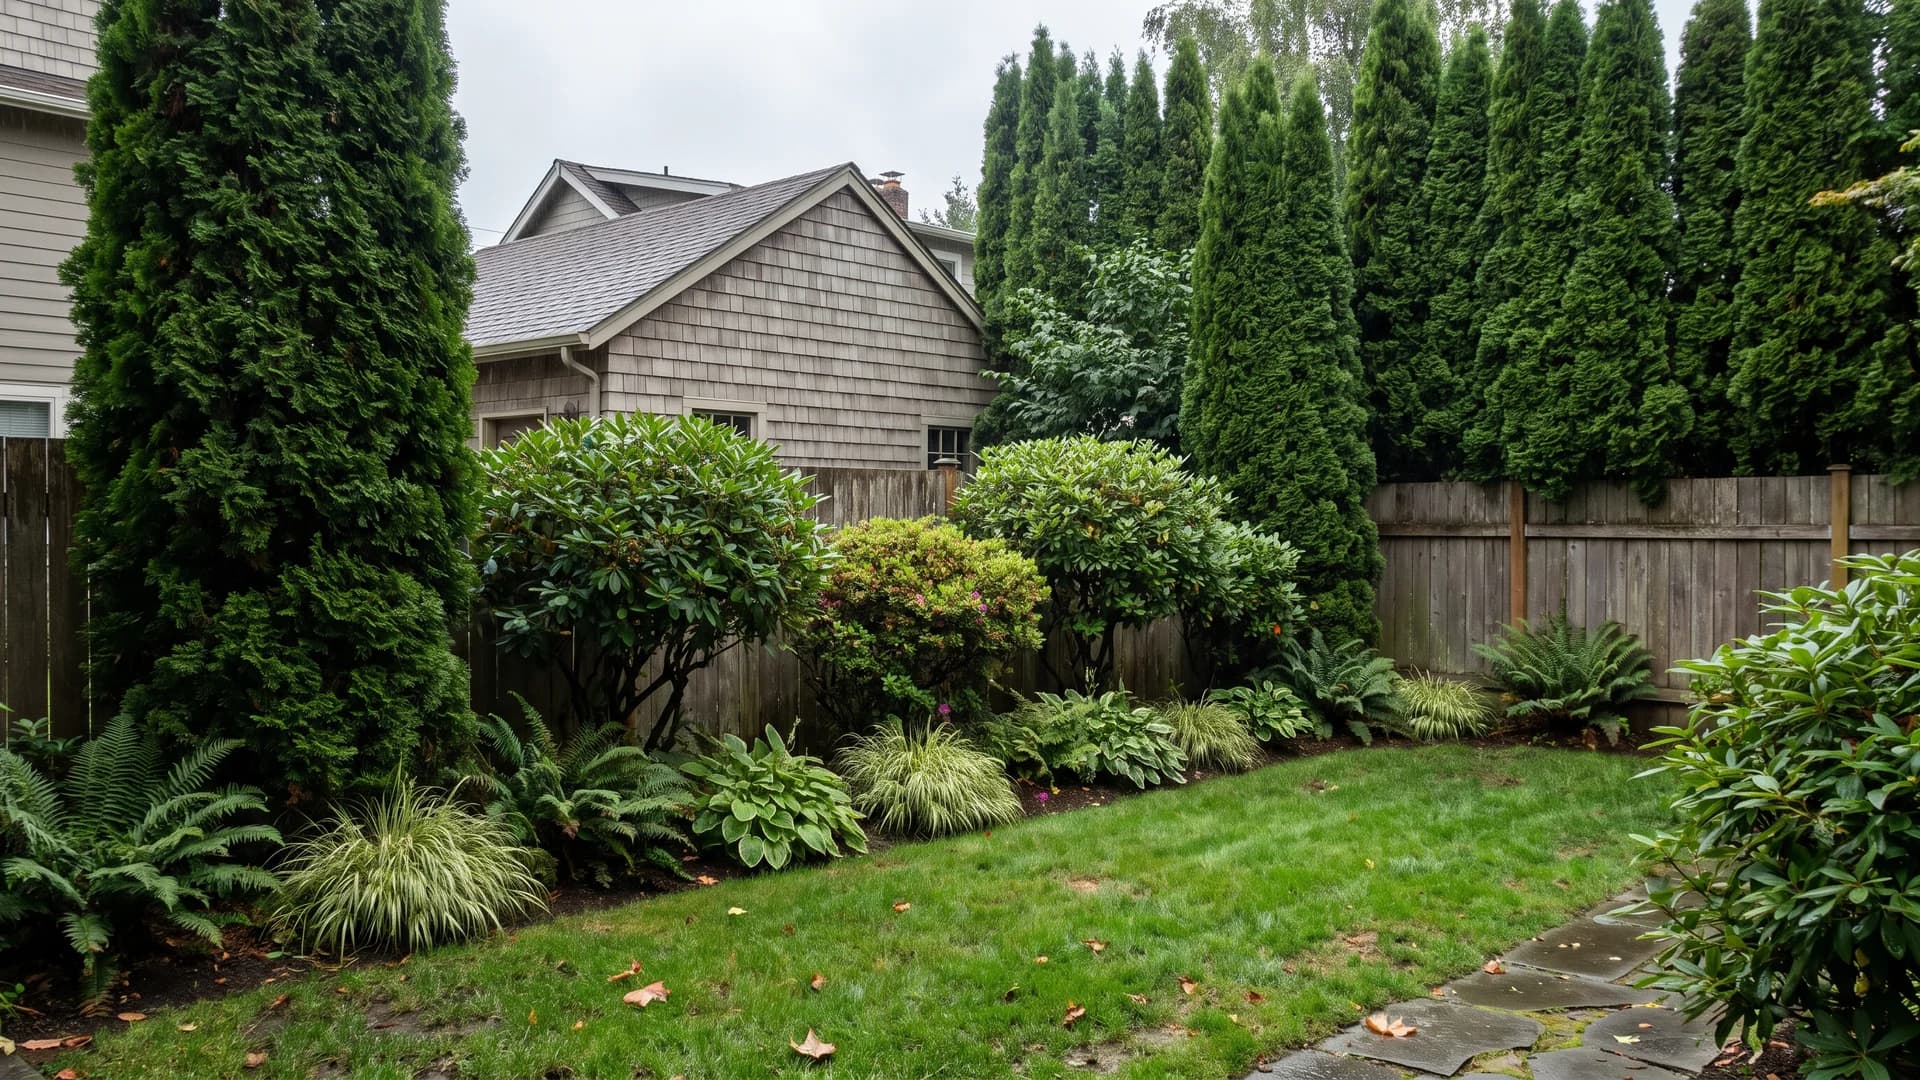
Screening is easier to get sideways than head-on. Put a tall backbone at the line, mid-height shrubs 4 feet in front of it, and something low at the bed edge, and you get a real planting design that happens to block a view. Depth does work that height can't: three overlapping layers of foliage close a sightline at 6 feet that a single thin hedge only closes at 9. This is softscape doing a hardscape's job.
4. Build a privacy berm before you plant anything
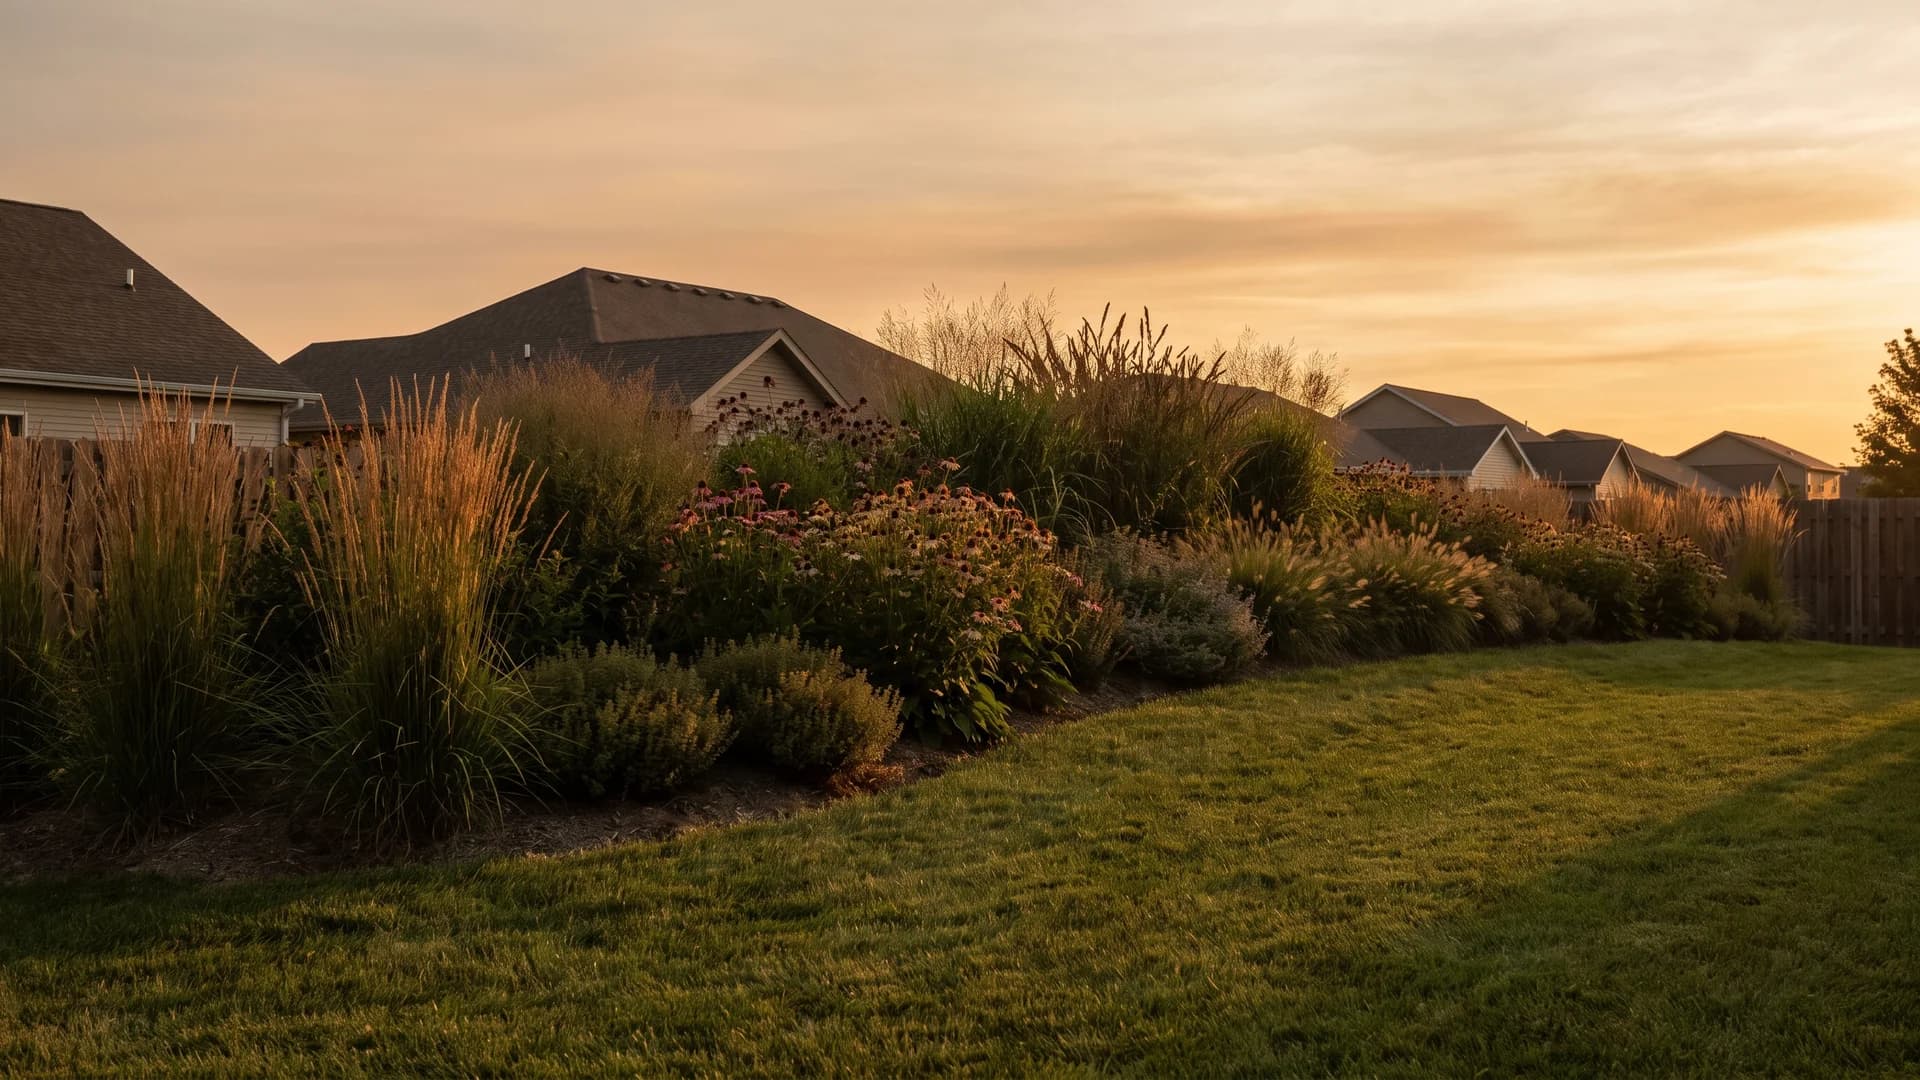
Mound the dirt first, plant second. A 3-foot berm gives a 6-foot shrub the reach of a 9-foot one, and soil is the cheapest height you will ever buy, sometimes free if a neighbor is having a pool dug. Keep the sides at a 4:1 slope so it mows, allow about 6 feet of base width per foot of height, and set the peak off-center. A symmetrical mound reads as a grave; an uneven one reads as ground.
5. Double the row and stagger it
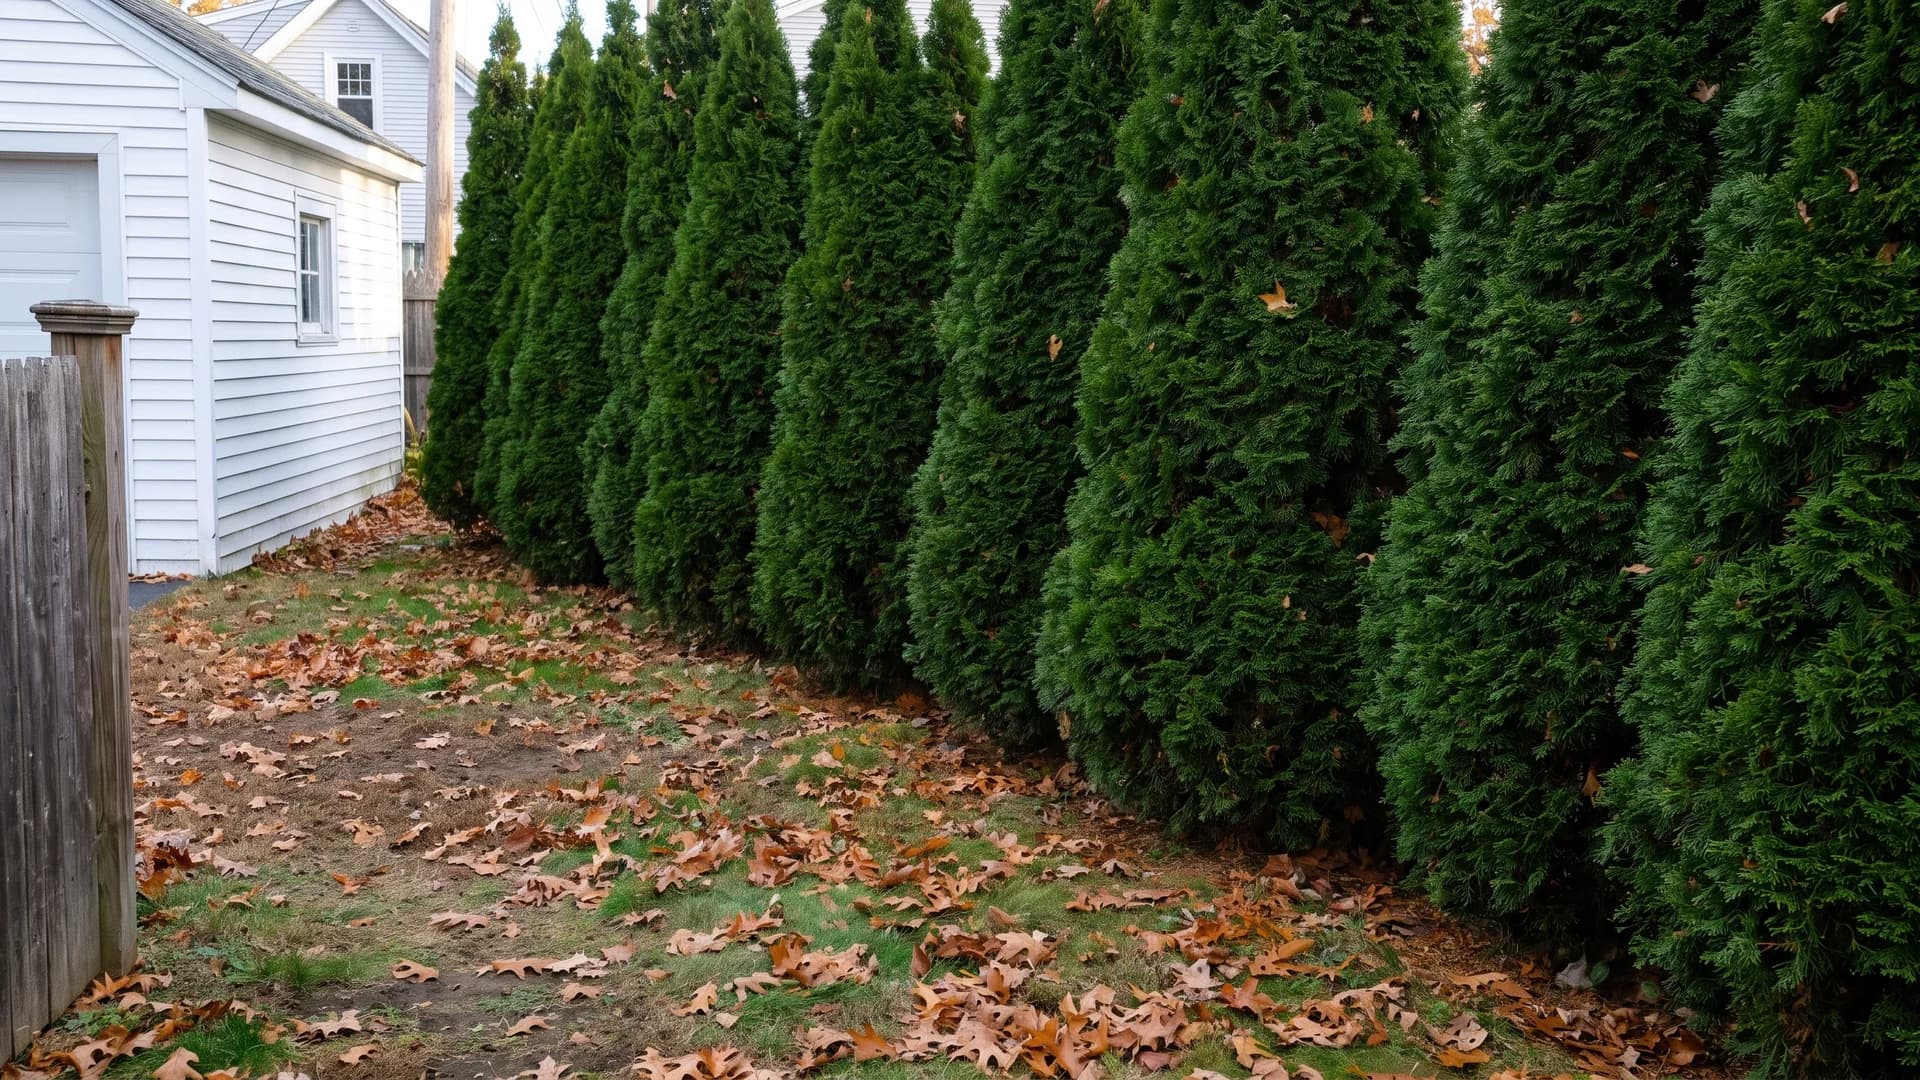
Two rows beat one when you cannot wait for mature spread. Plant the back row on 6-foot centers, then offset the front row into the gaps about 3 feet forward. You get a screen with no holes in it years before a single row of the same plants would close, at roughly double the plant cost. Skip this in a strip narrower than 8 feet, where the two rows just fight each other for root space.
6. Use clumping bamboo, and contain it anyway
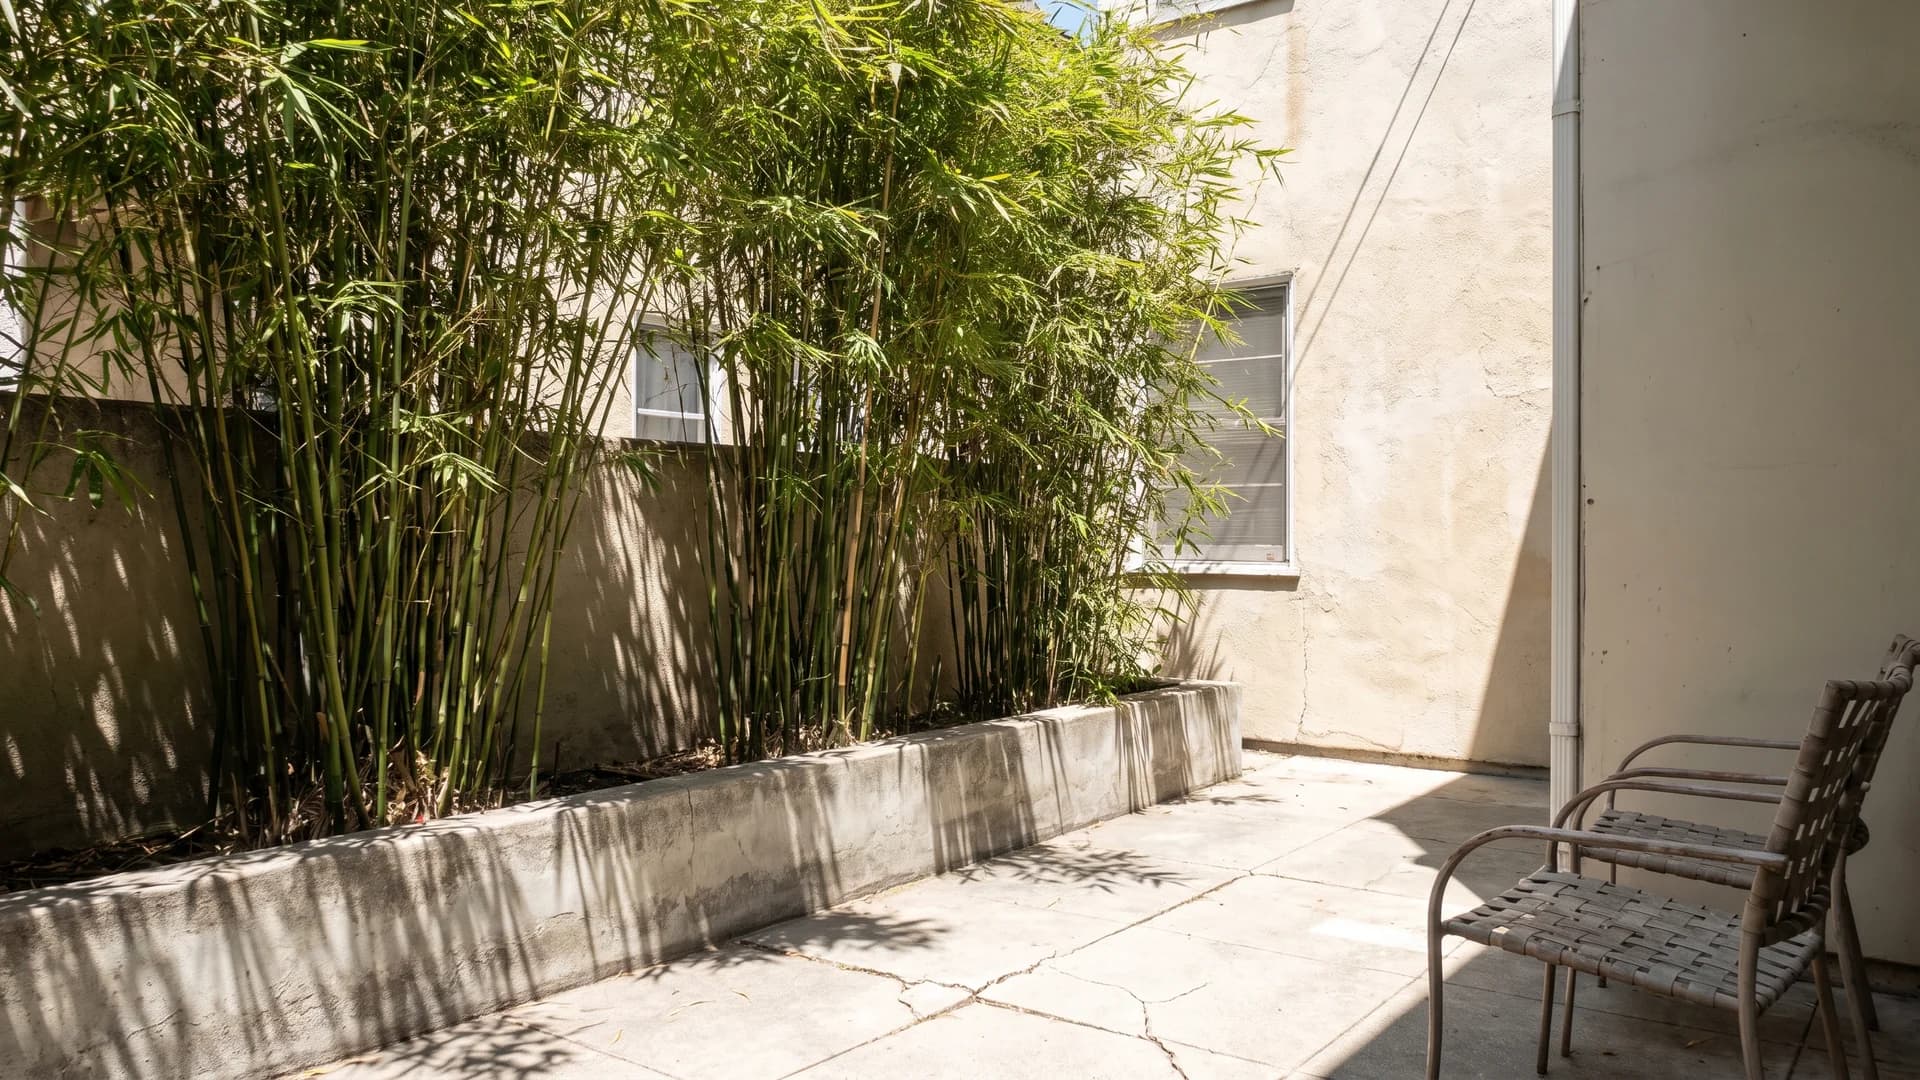
Nothing screens faster. Clumping types like Fargesia (zones 5 to 9) expand a few inches a year and stay put; running types like Phyllostachys will be in the neighbor's lawn by year three unless you sink a 60-mil HDPE barrier 28 to 30 inches deep around the whole planting. If that sounds like a commitment you would rather not make, a raised bed or a row of oversized containers does the same job with an edge you can see.
7. Screen with ornamental grasses, seasonally
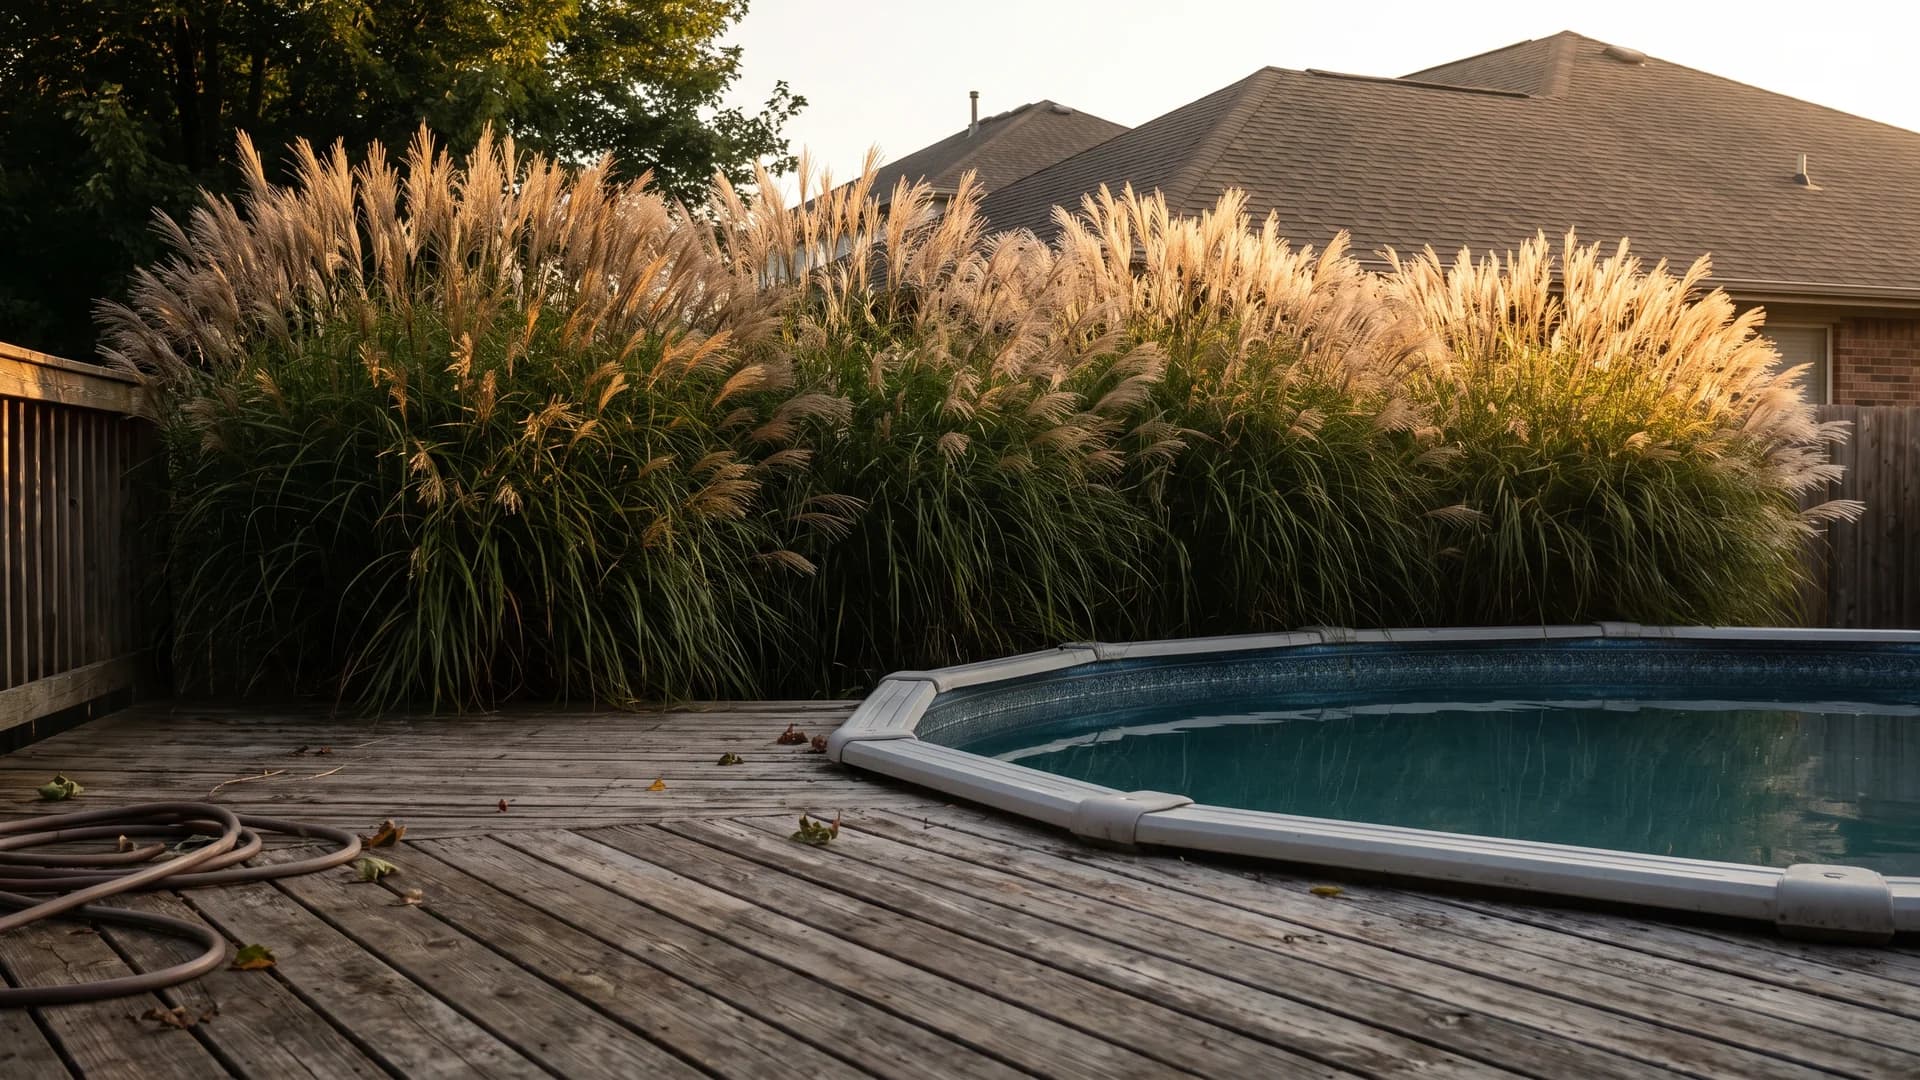
Cheap, quick, and honest about what it is. Miscanthus and switchgrass reach 6 to 7 feet by midsummer in zones 5 to 9 at $12 to $20 a plant, and they move and rustle in a way no clipped hedge does. The catch, up front: you cut them to the ground in late winter and the screen disappears until June. That suits a pool deck or a patio you only use warm. It does not suit a bedroom window.
8. Reach the upstairs window with a small tree
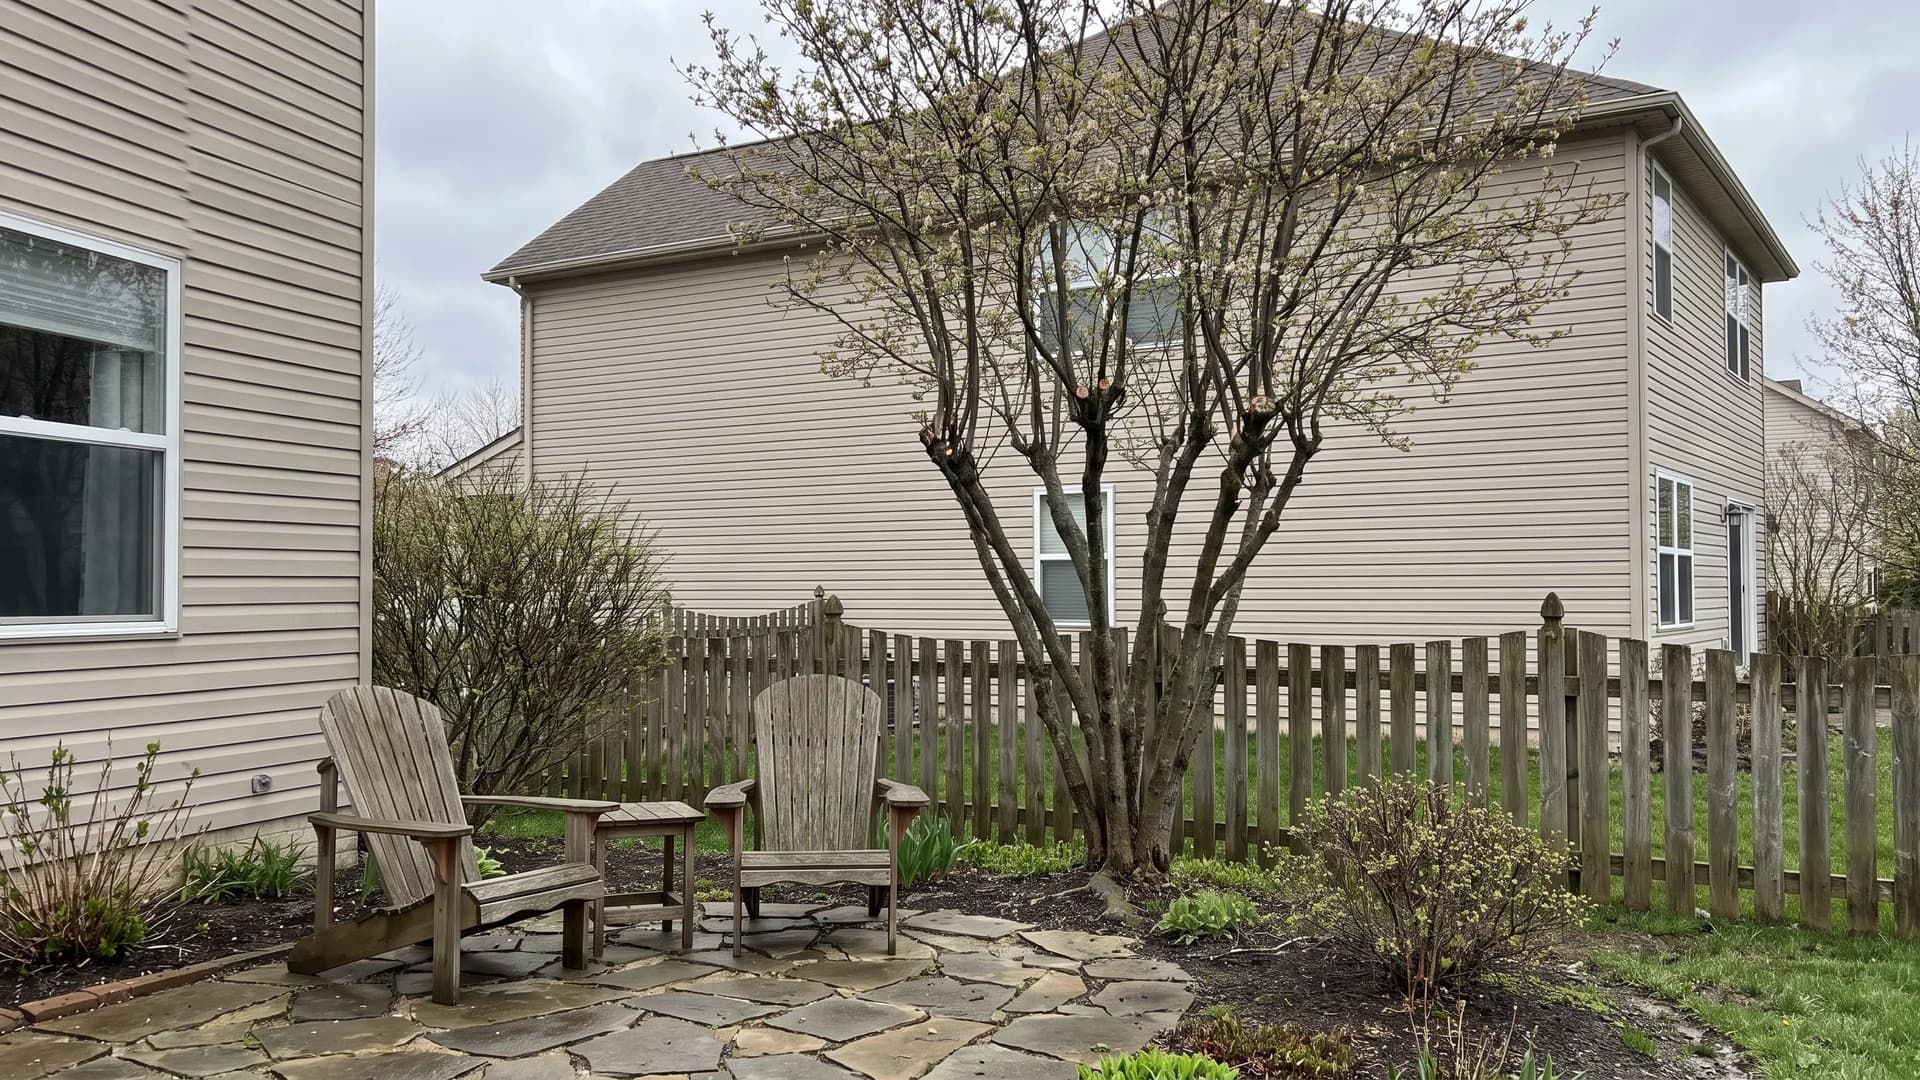
The neighbor's second-floor window needs a different answer than the property line does. One small tree limbed up to about 7 feet blocks the downward view while leaving the ground plane open, so nothing feels boxed in. Redbud (zones 4 to 9), crape myrtle (7 to 9), or a multi-stem serviceberry all settle around 20 to 25 feet. Place it two-thirds of the way between you and the window rather than against the fence, where its canopy covers far less of the angle.
Structures that screen in a weekend
9. Kill the overhead sightline with a planted pergola
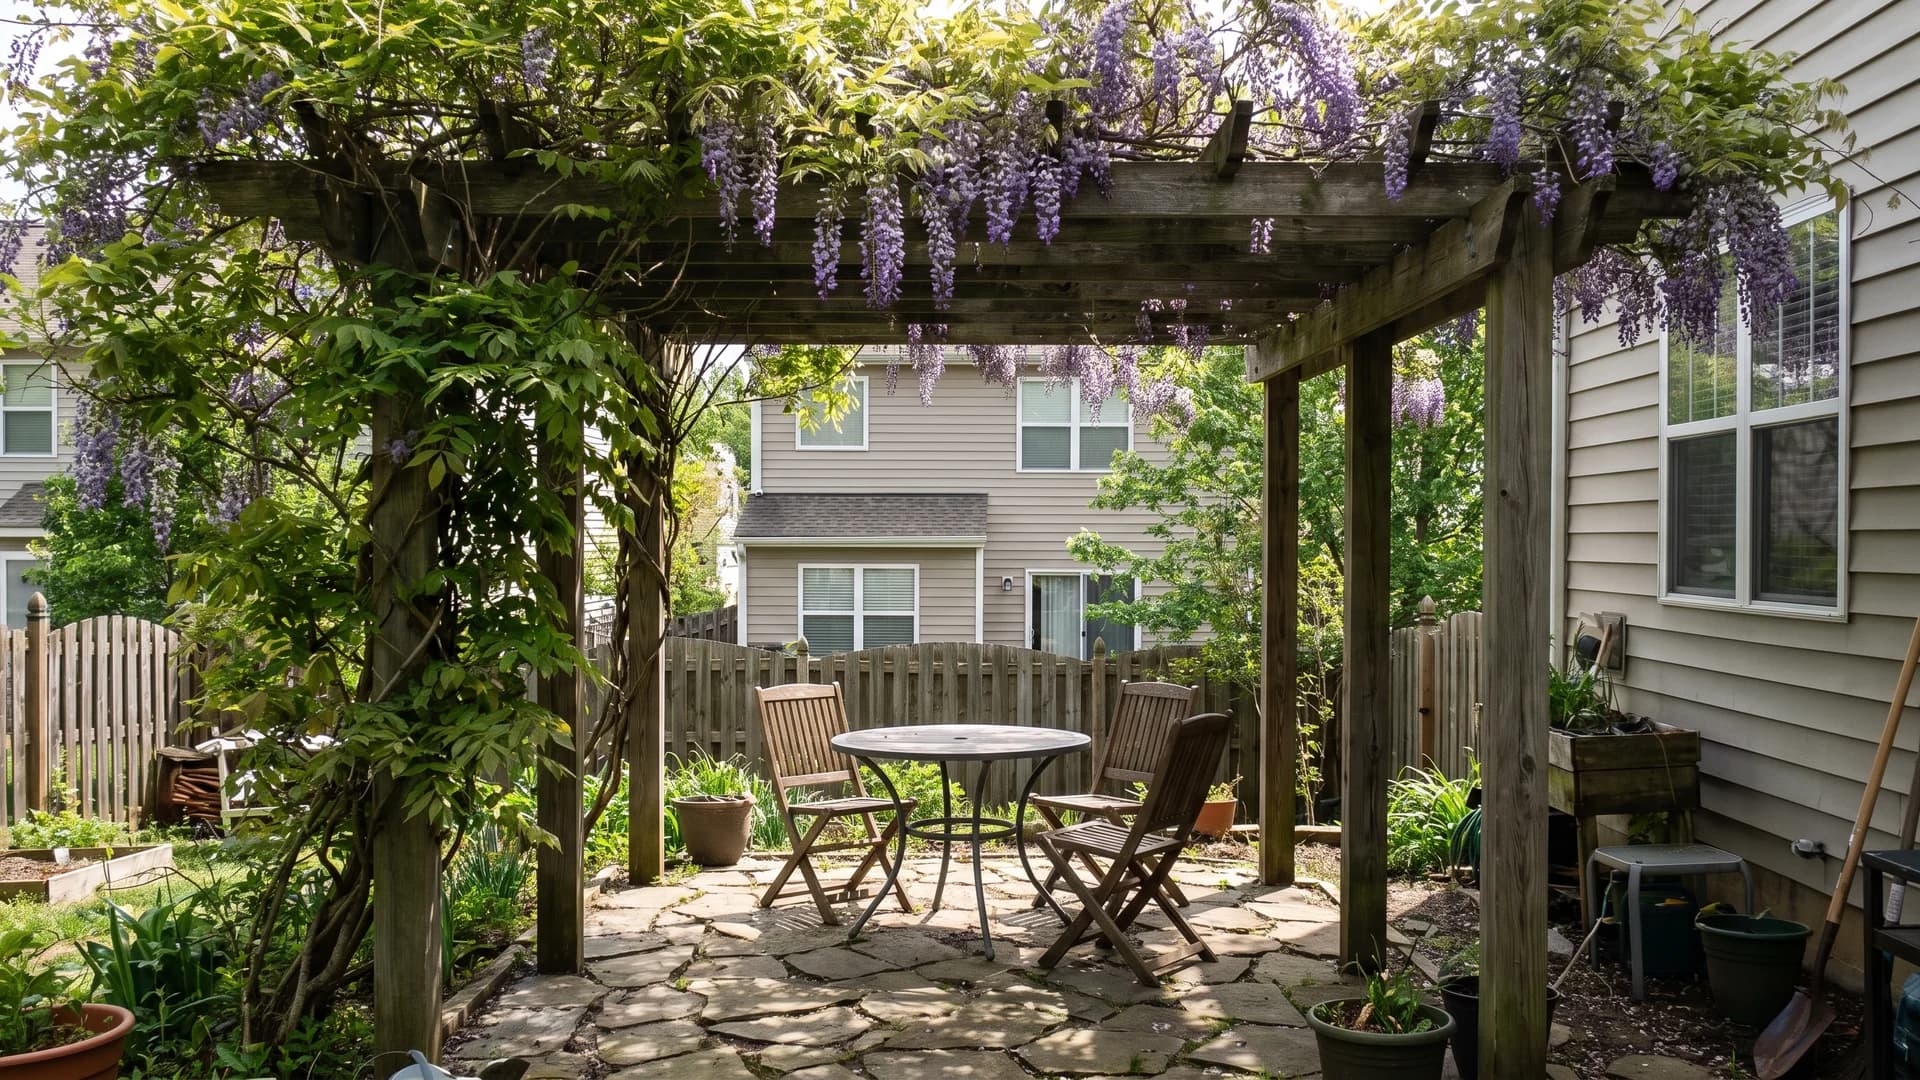
Overhead is the angle people forget. A pergola with wisteria, grape, or hardy kiwi trained across the top removes the view from every upstairs window nearby without changing a thing at eye level. Kits for a 12-by-12 area run roughly $1,200 to $3,000, and the vine needs two or three seasons to knit across the rafters. Pick a deciduous vine if you want the winter sun back in January.
10. Hang outdoor curtains you can open again
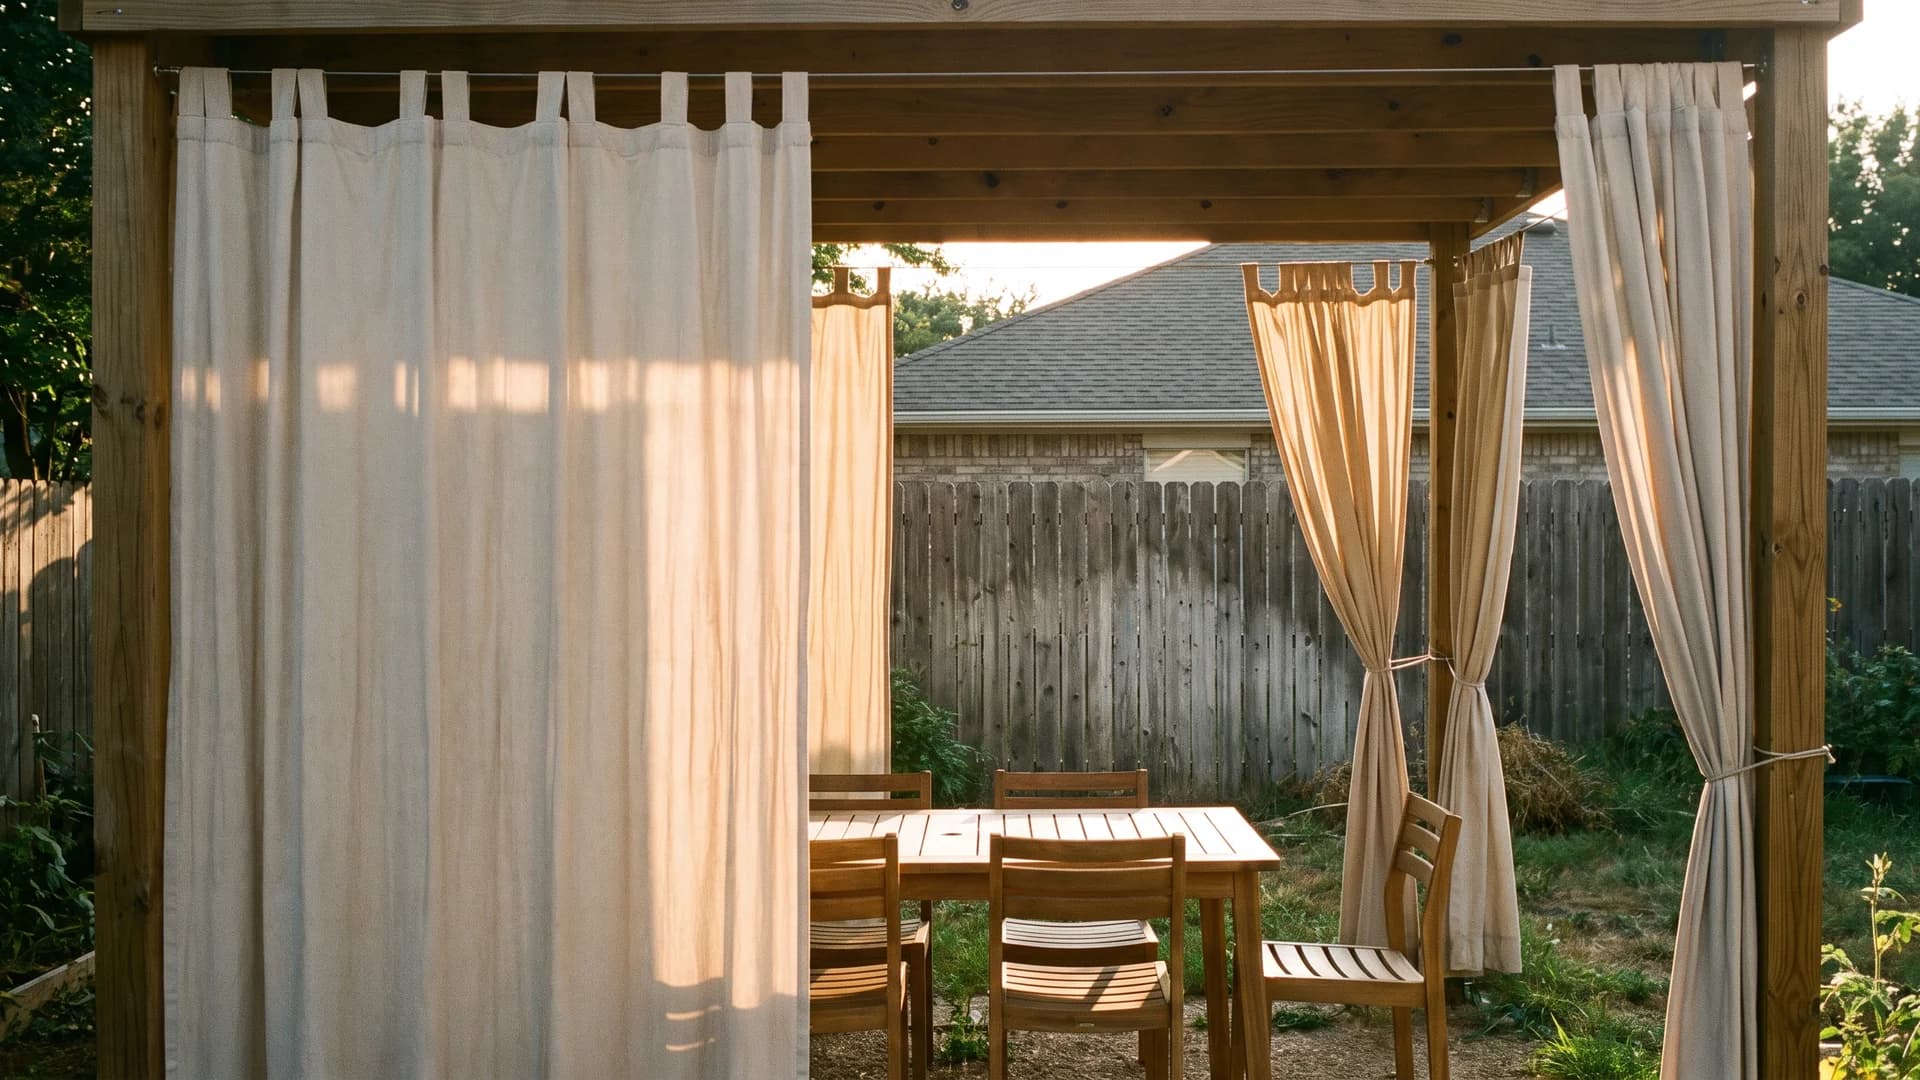
Curtains put privacy on a switch. Outdoor-rated panels on a cable or track between posts cost $30 to $60 each, close a side in seconds, and open when you want the view of your own yard back. They also solve the one-direction problem cleanly: draw the panel facing the neighbor's deck and leave the other three sides open. Take them down before the first serious windstorm or you will buy them twice.
11. Add lattice or slat toppers to the fence you already have
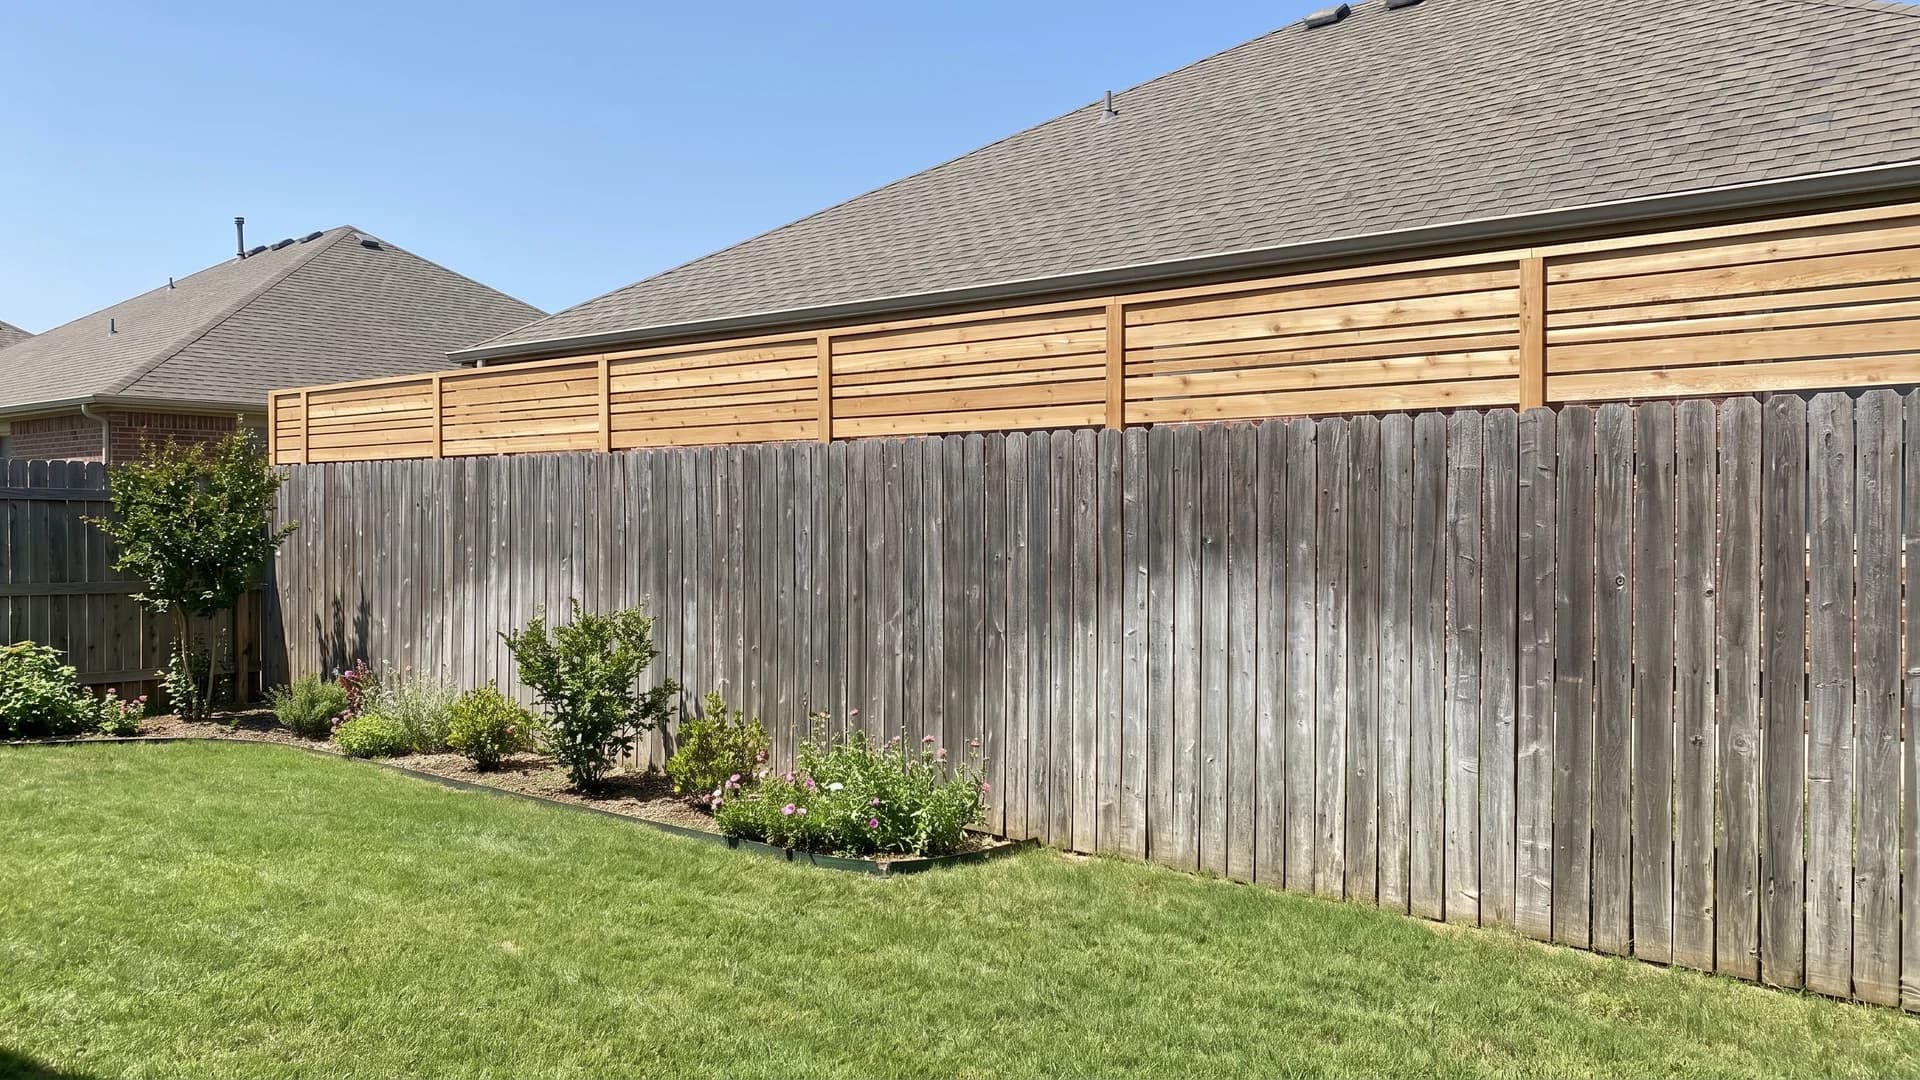
This is the cheapest foot of height available. A 2-foot lattice or horizontal-slat topper takes a 6-foot fence to 8 for $25 to $45 a panel, and it closes the standing sightline that a 6-foot fence misses whenever anyone is on a deck. Check your height cap first, because most towns count the topper toward the limit. If the fence is fine and it's the planting beside it you want, that's a separate job covered in our fence line landscaping ideas.
12. Put one lattice panel where the sightline actually is
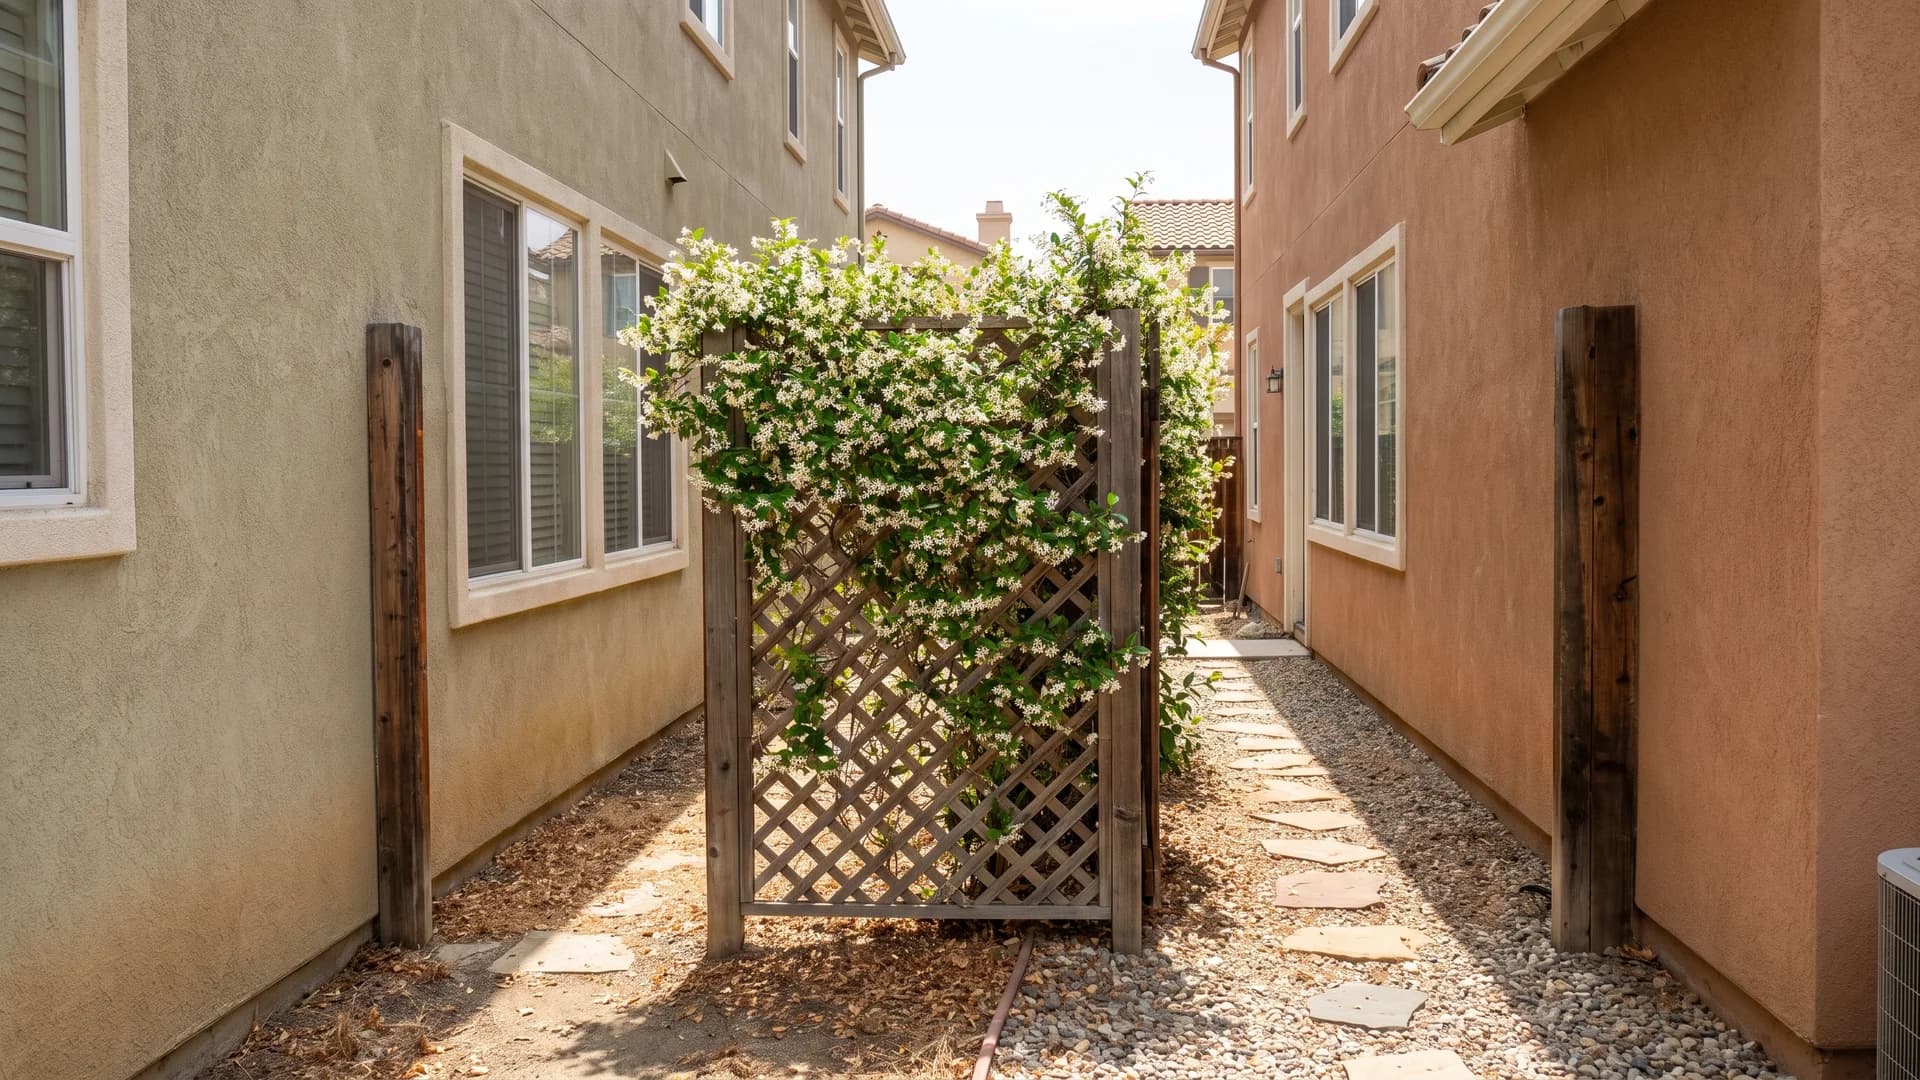
The gap between two houses rarely needs 40 feet of screen. It needs one panel in the right spot, because the sightline is usually a single window aimed at your side door or patio. Set a 4-by-8 lattice panel between two posts, plant clematis or star jasmine (zones 7 to 10) at the base, and the view closes by the second summer. Our side yard landscaping guide handles the rest of that strip.
13. Stack a gabion wall where noise matters too
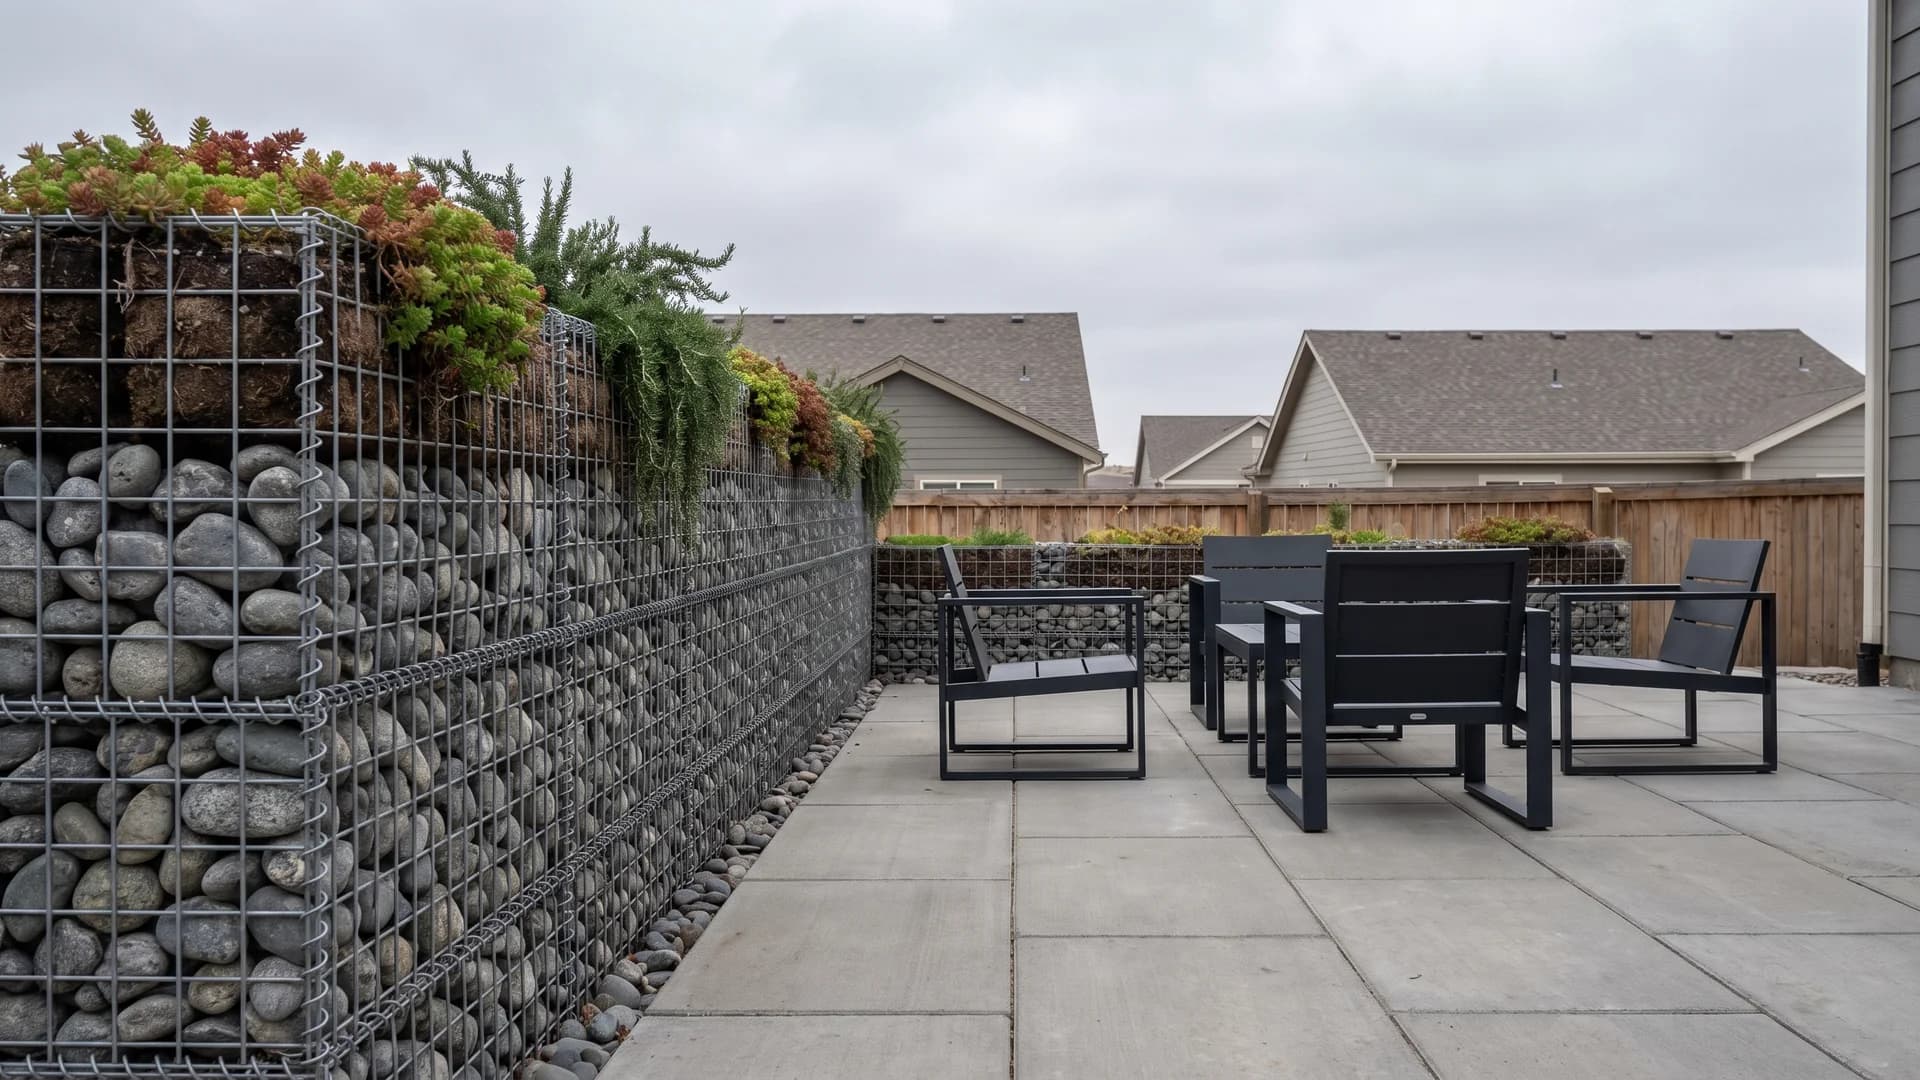
Wire baskets filled with stone take about 18 inches of depth and are the only option on this list with real mass behind them. Mass is what matters if road noise bothers you as much as the view, since plants barely touch sound and a solid stone wall genuinely does. Leave a few top baskets short, cap them with soil, and plant sedum or trailing rosemary. Budget for stone by the ton and for a properly compacted base, since a leaning gabion is not fixable.
14. Drop to seated height with a low seat wall
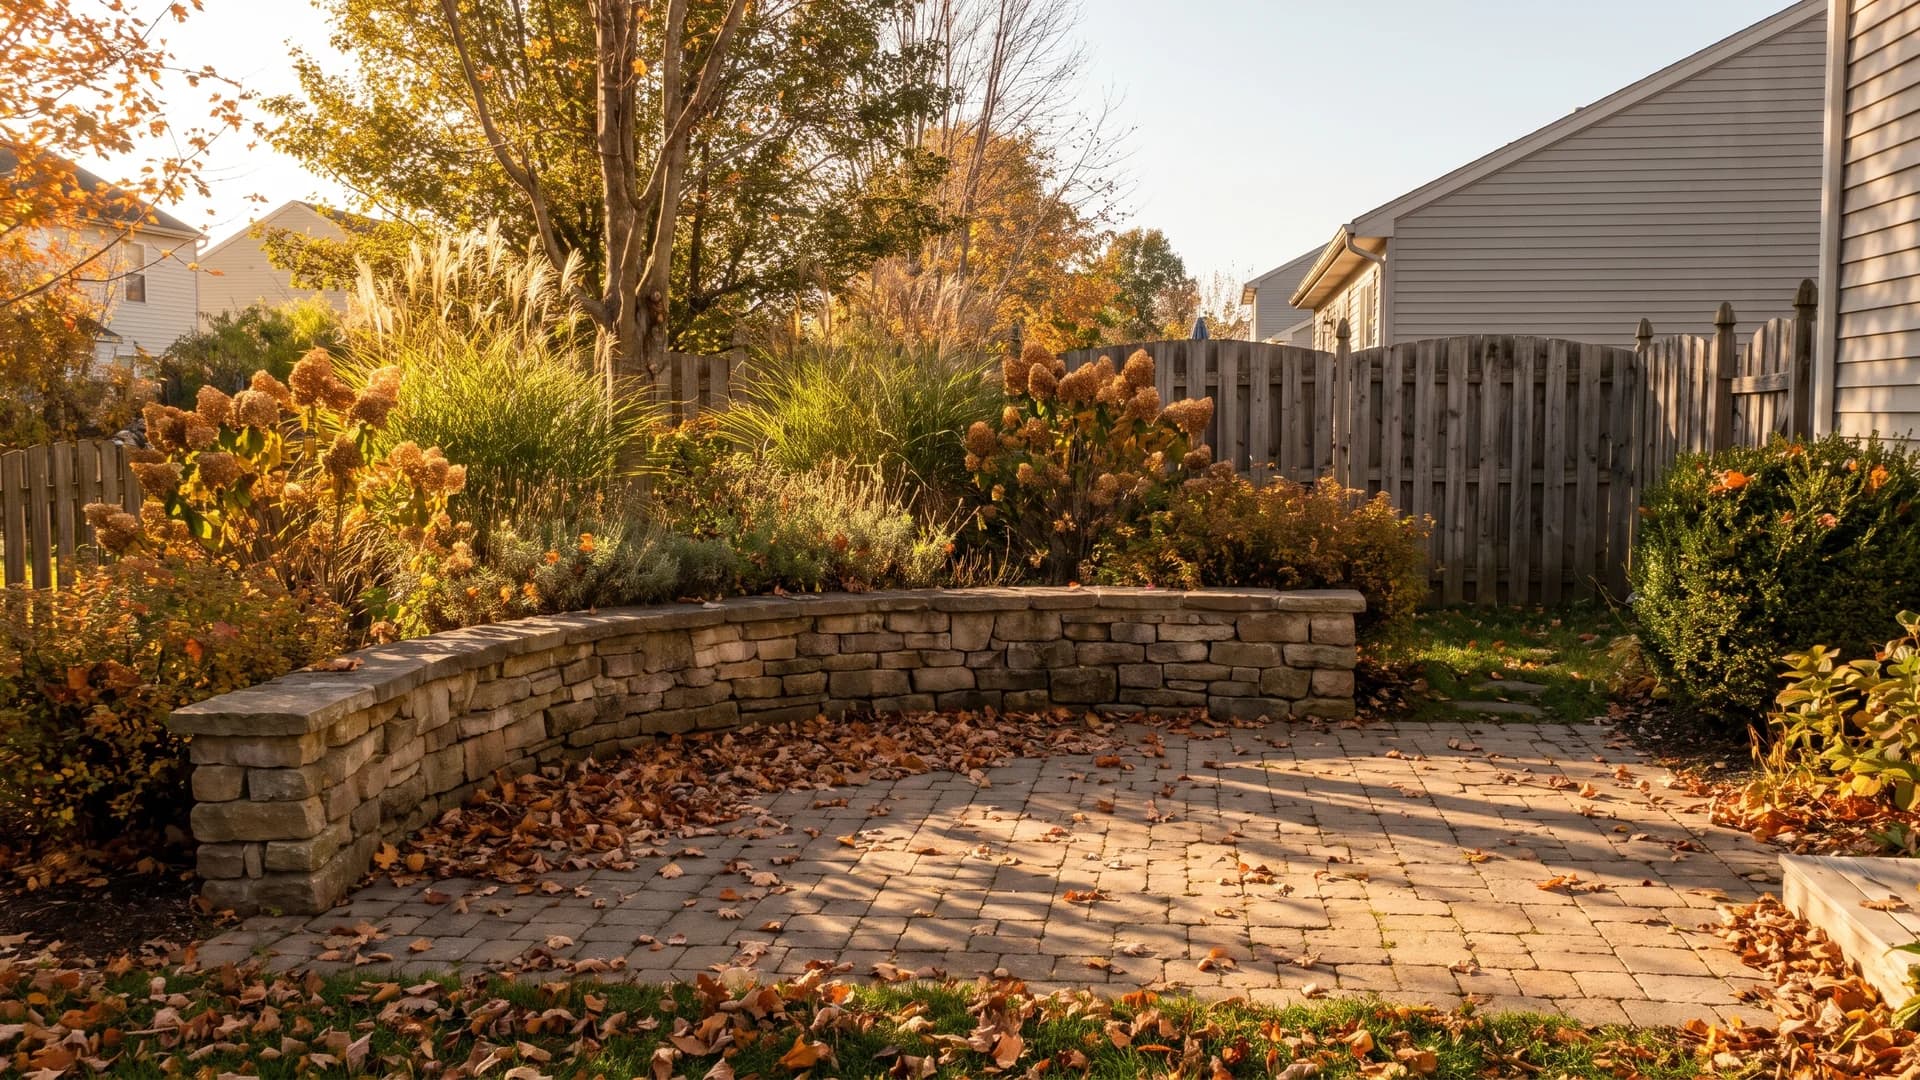
You only need about 4 feet of screen when everyone is sitting down. Build the wall 18 inches tall and 16 inches deep, the dimensions that are actually comfortable to sit on, then plant a 3-foot band of shrubs or grasses behind it. That combination closes the seated sightline, seats eight people, and edges a bed, from one piece of hardscaping. It works in yards where a full-height screen would feel like a stairwell.
15. Block the downward angle with a shade sail
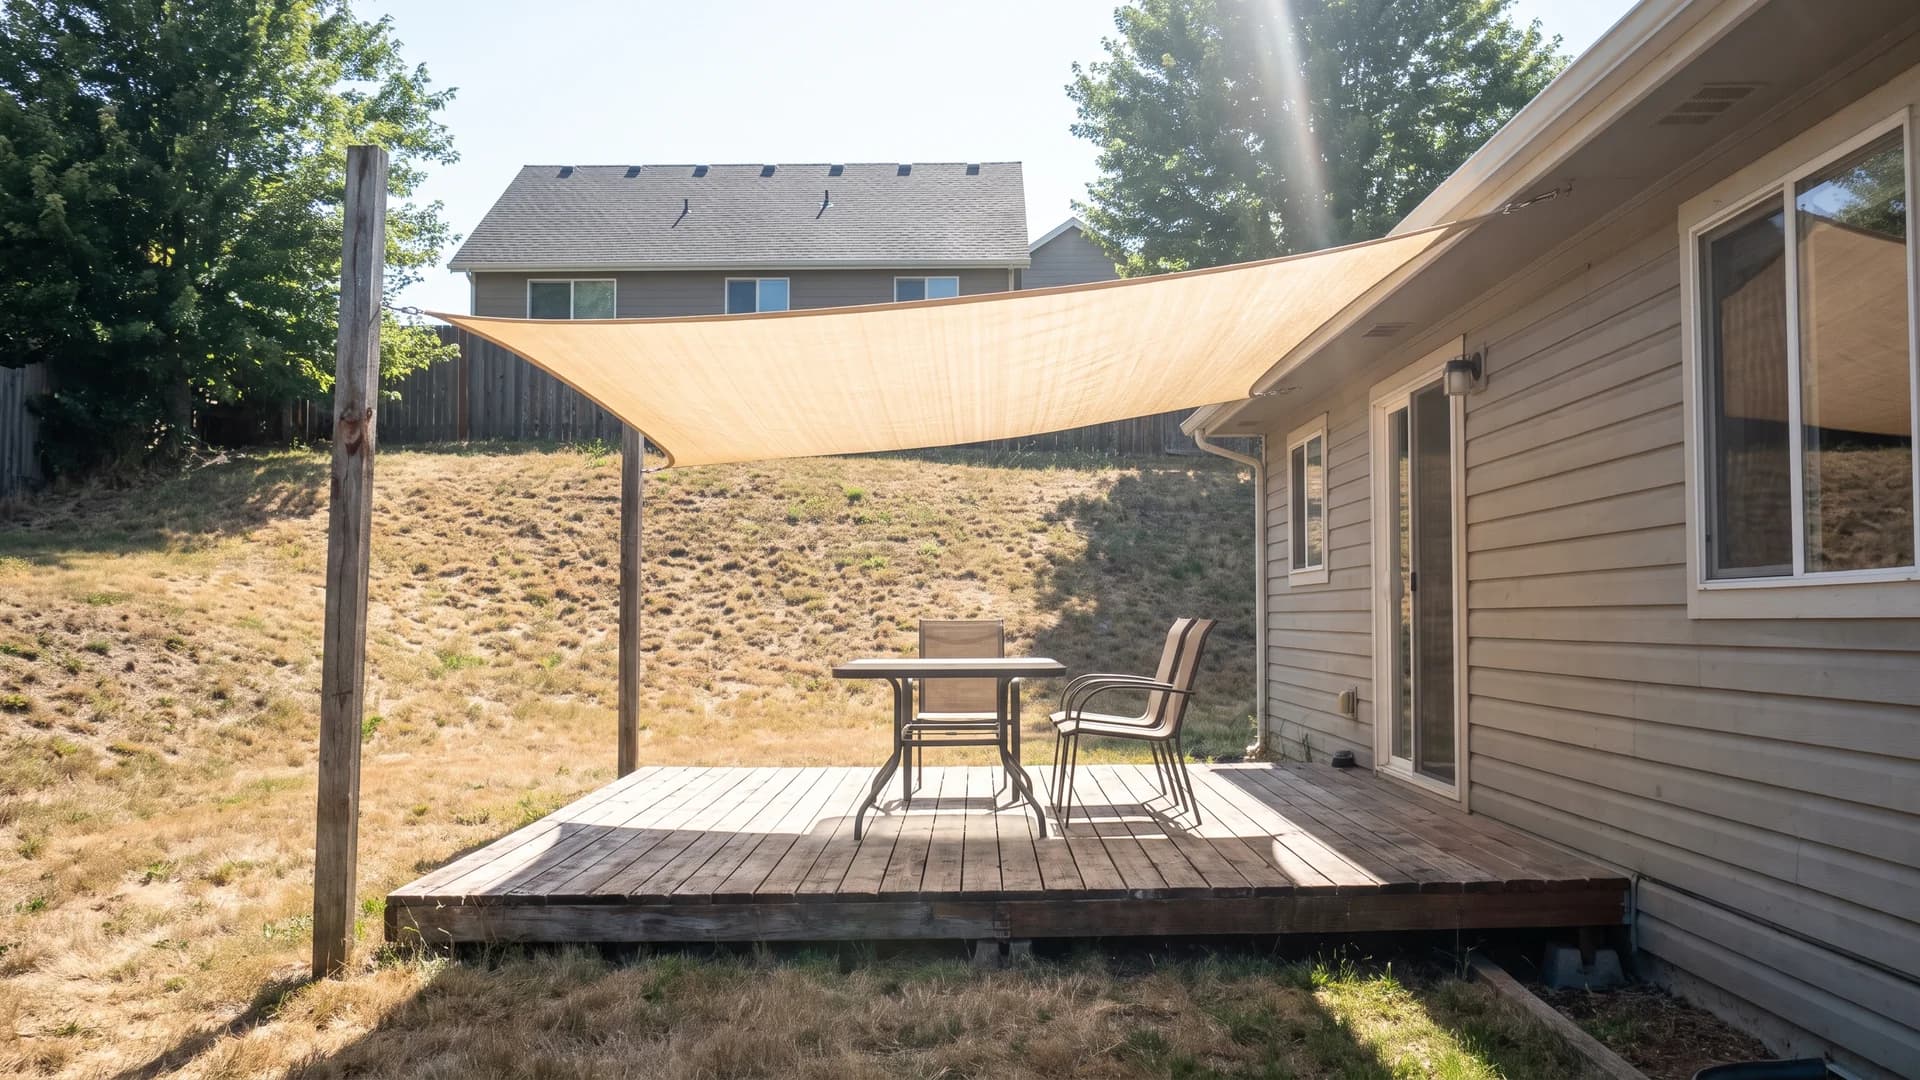
When the problem is an uphill neighbor or a second-floor balcony, nothing planted at the property line will reach it. A shade sail anchored at three points, or a retractable awning off the house, interrupts the downward angle directly. UV-rated sail fabric runs $60 to $150 for a 12-foot triangle, plus posts set in concrete deep enough to take the load. Take it down for winter unless the fabric is rated for snow.
Small yards, rentals, and tight spots
Screening every side of a small yard buys privacy and spends the yard doing it. Under about 2,000 square feet, block the one or two directions that bother you and leave the rest open, or use screens you can partly see through, so your eye still reaches the far corner.
16. Turn a blank wall into a planted screen
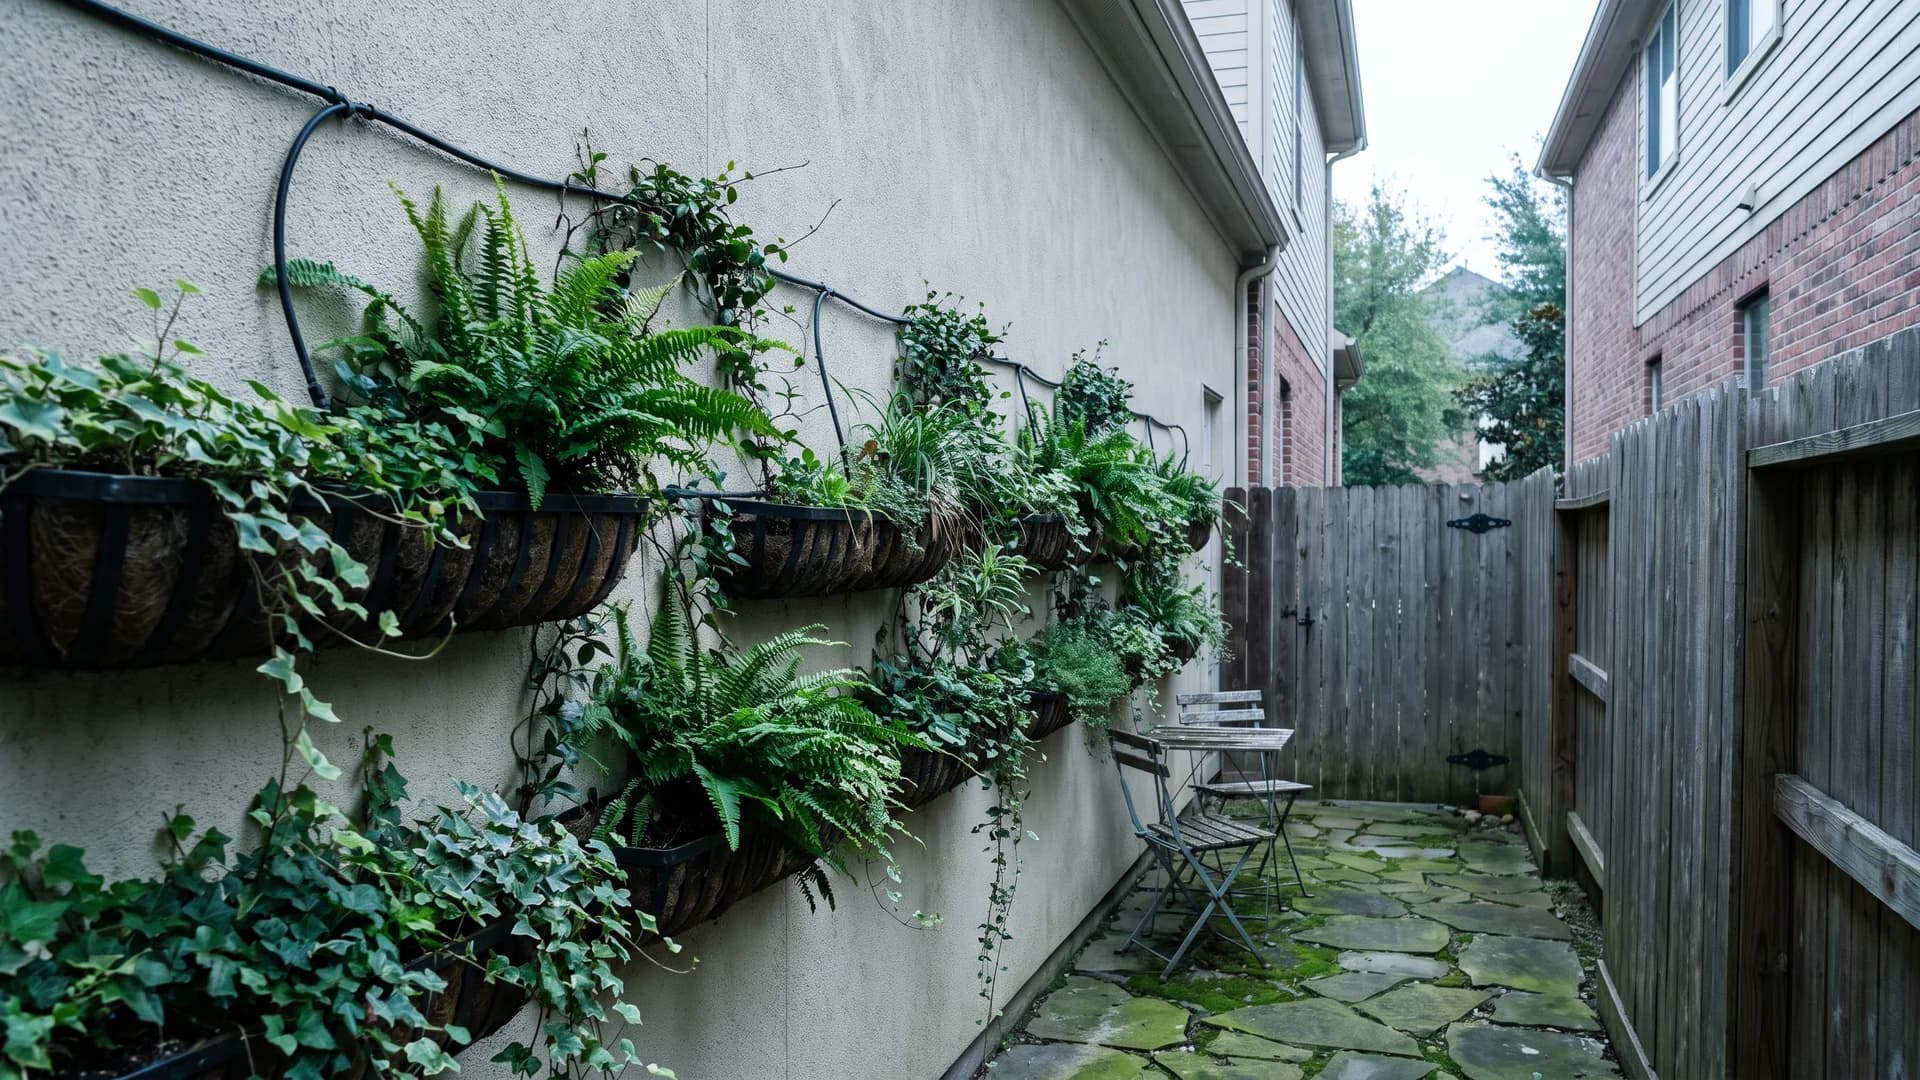
Blank side walls and bare fence panels are free vertical real estate. A modular planting wall or a row of mounted troughs closes a gap while taking about 8 inches of floor, which matters when the entire space is 6 feet wide. Sort the watering before you build. Vertical panels dry from the top down, and a $40 drip line on a timer is the whole difference between a green wall and a brown one.
17. Roll the screen in on casters
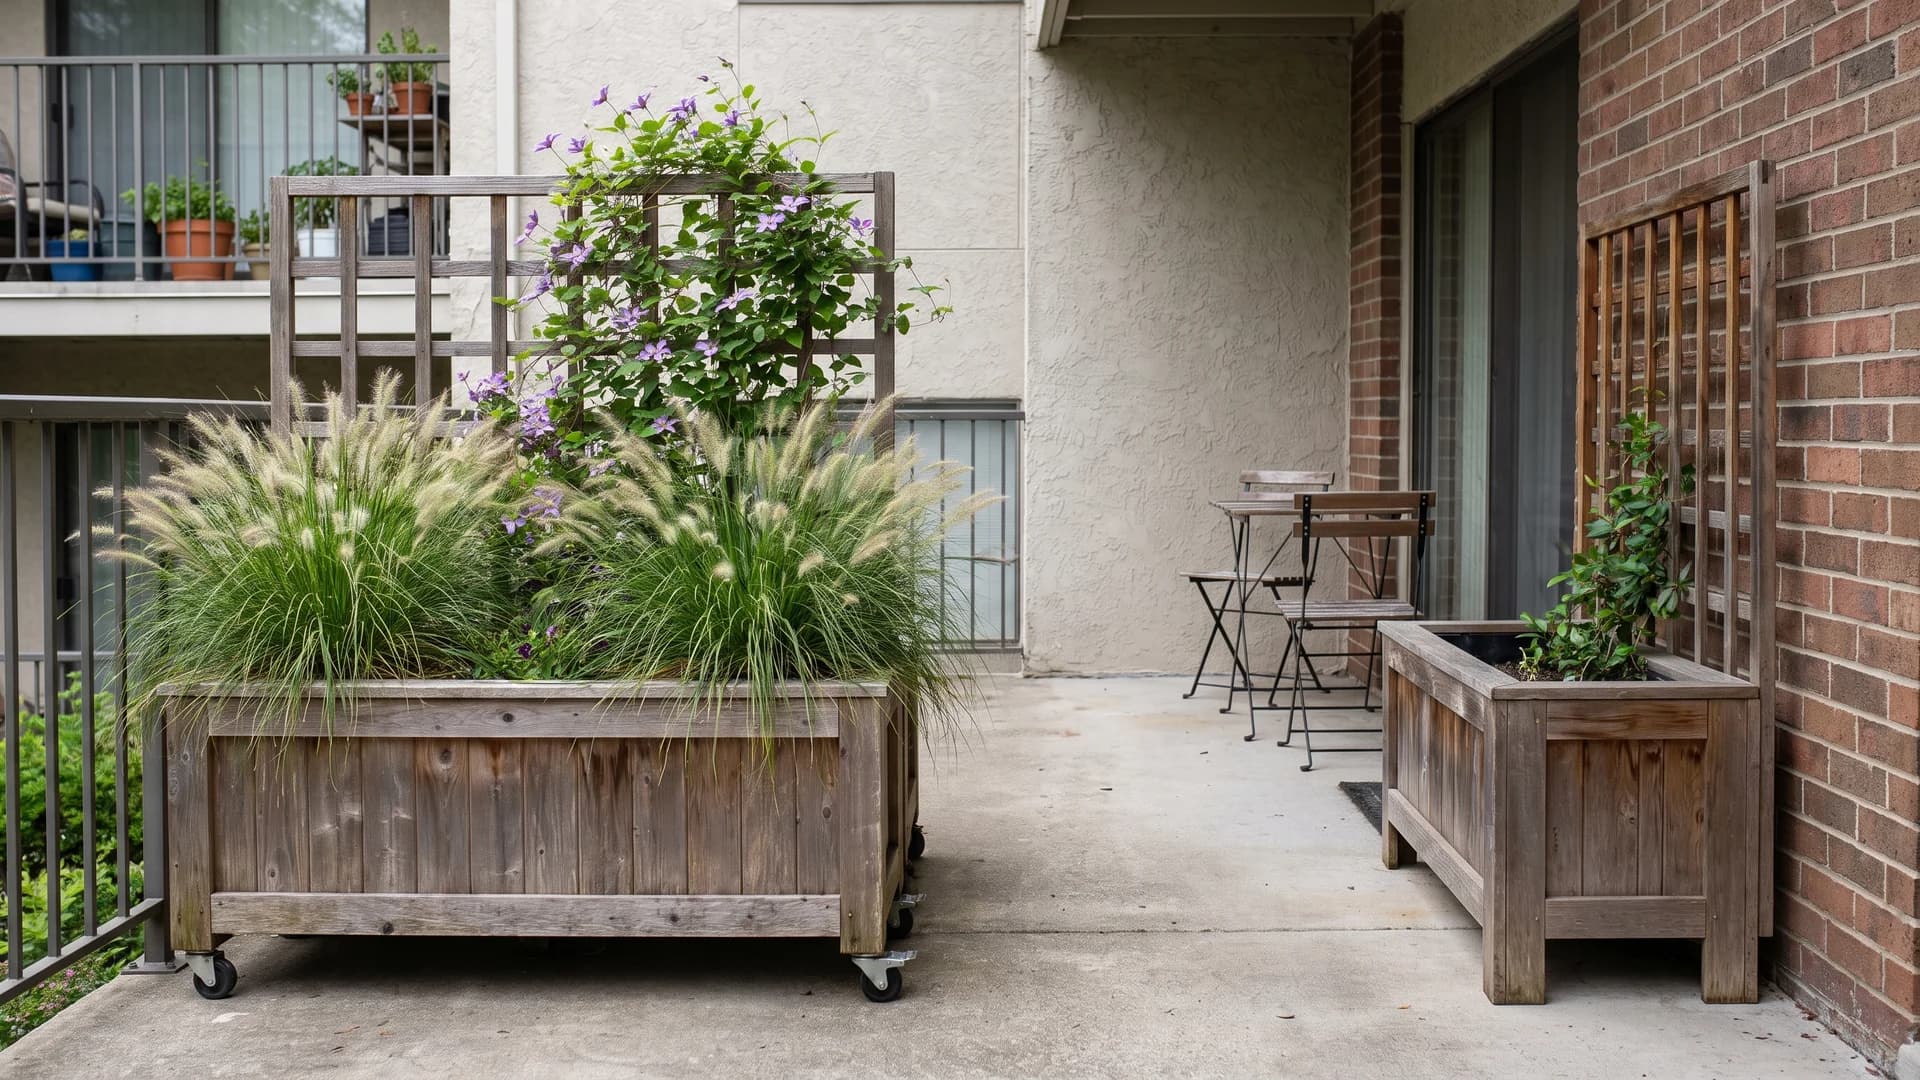
Renters and HOA yards need privacy that can leave when they do. A 4-foot planter box with a trellis back on locking casters rolls into place for dinner, rolls back for a party, and goes with you at the end of the lease. Keep the box at least 12 inches deep or nothing in it survives August. Fill it with something forgiving: boxwood, dwarf grasses, or an annual vine you replace each spring.
18. Buy height in pots where you cannot dig
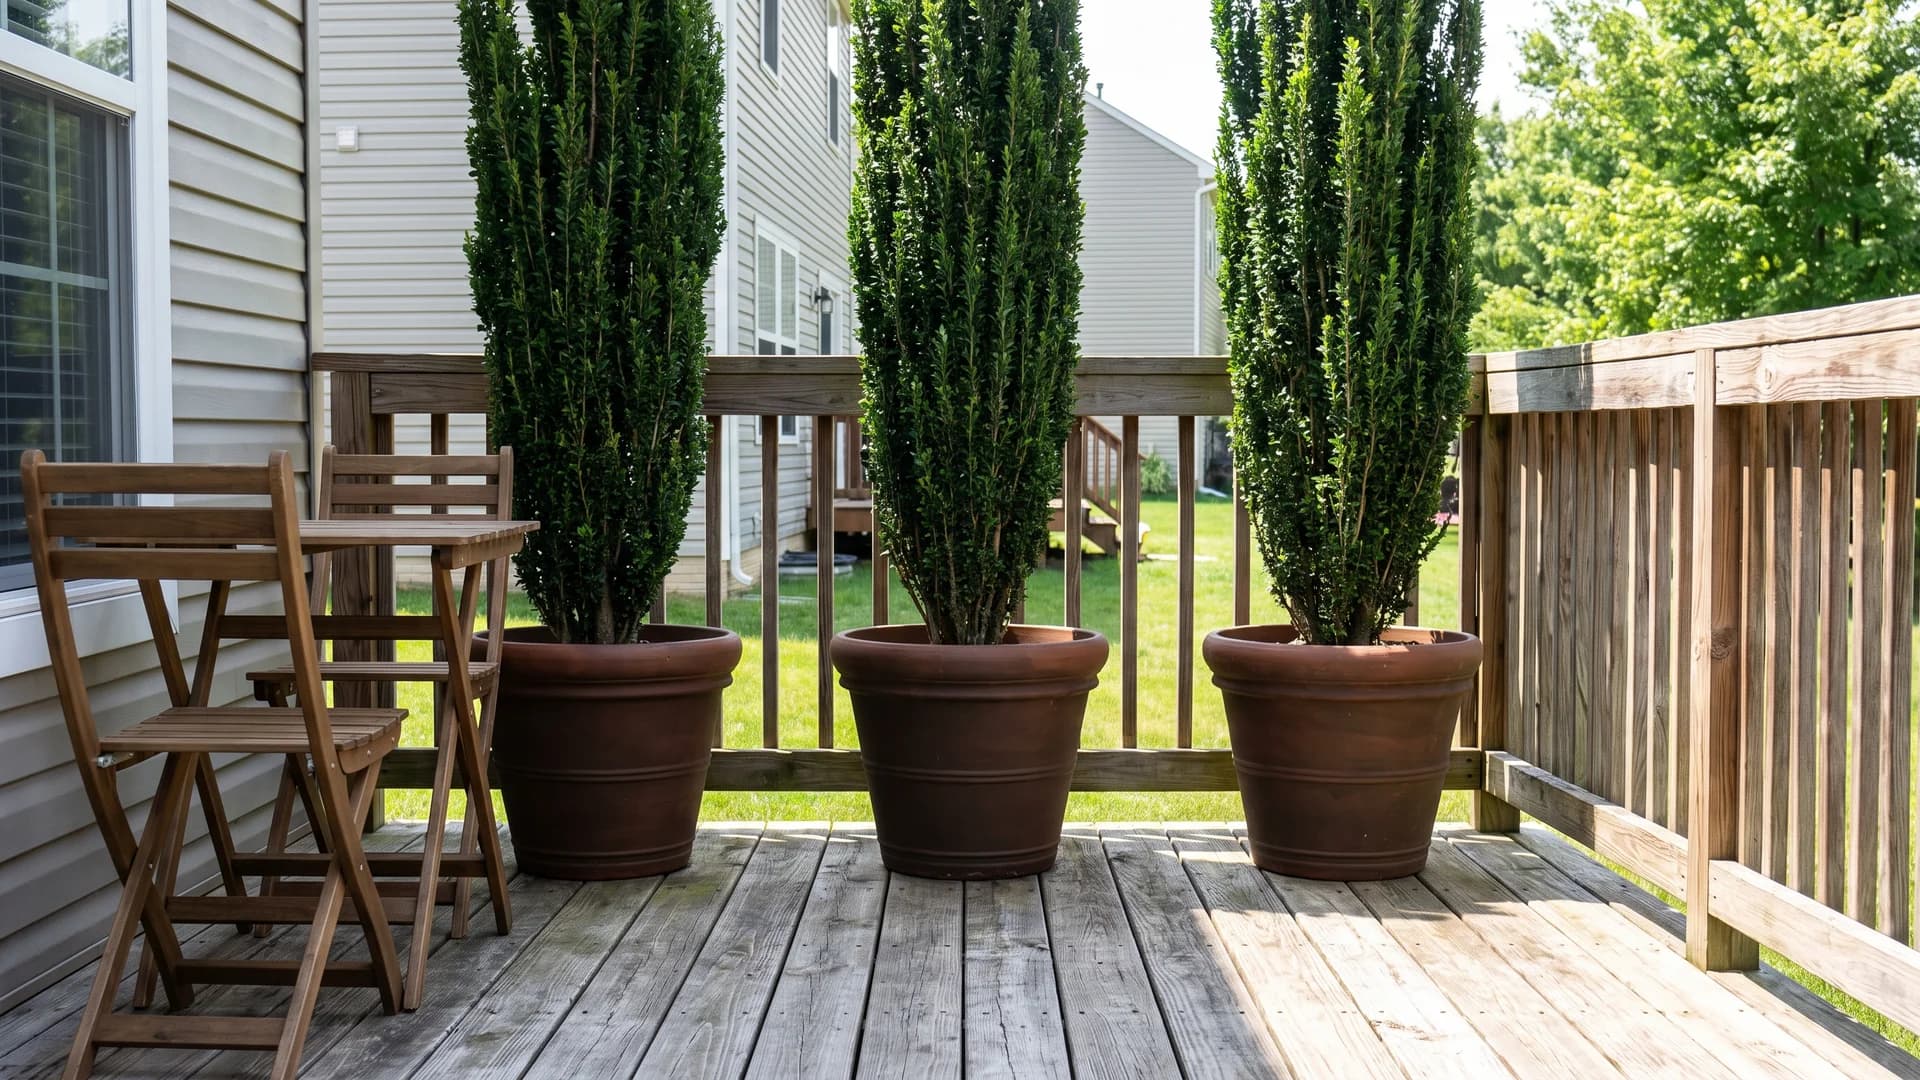
On a deck or a slab, containers are the only way up. Three 24-inch pots with columnar hornbeam, sky pencil holly, or an olive in zones 8 to 10 give you 8 feet of screen the day they are delivered. Pot size is the whole game here: anything under 20 inches dries out daily in summer heat and the plant stalls. Plan on watering every day in July and refreshing the soil every third spring.
The spots worth screening first
19. Wrap the hot tub, not the property line
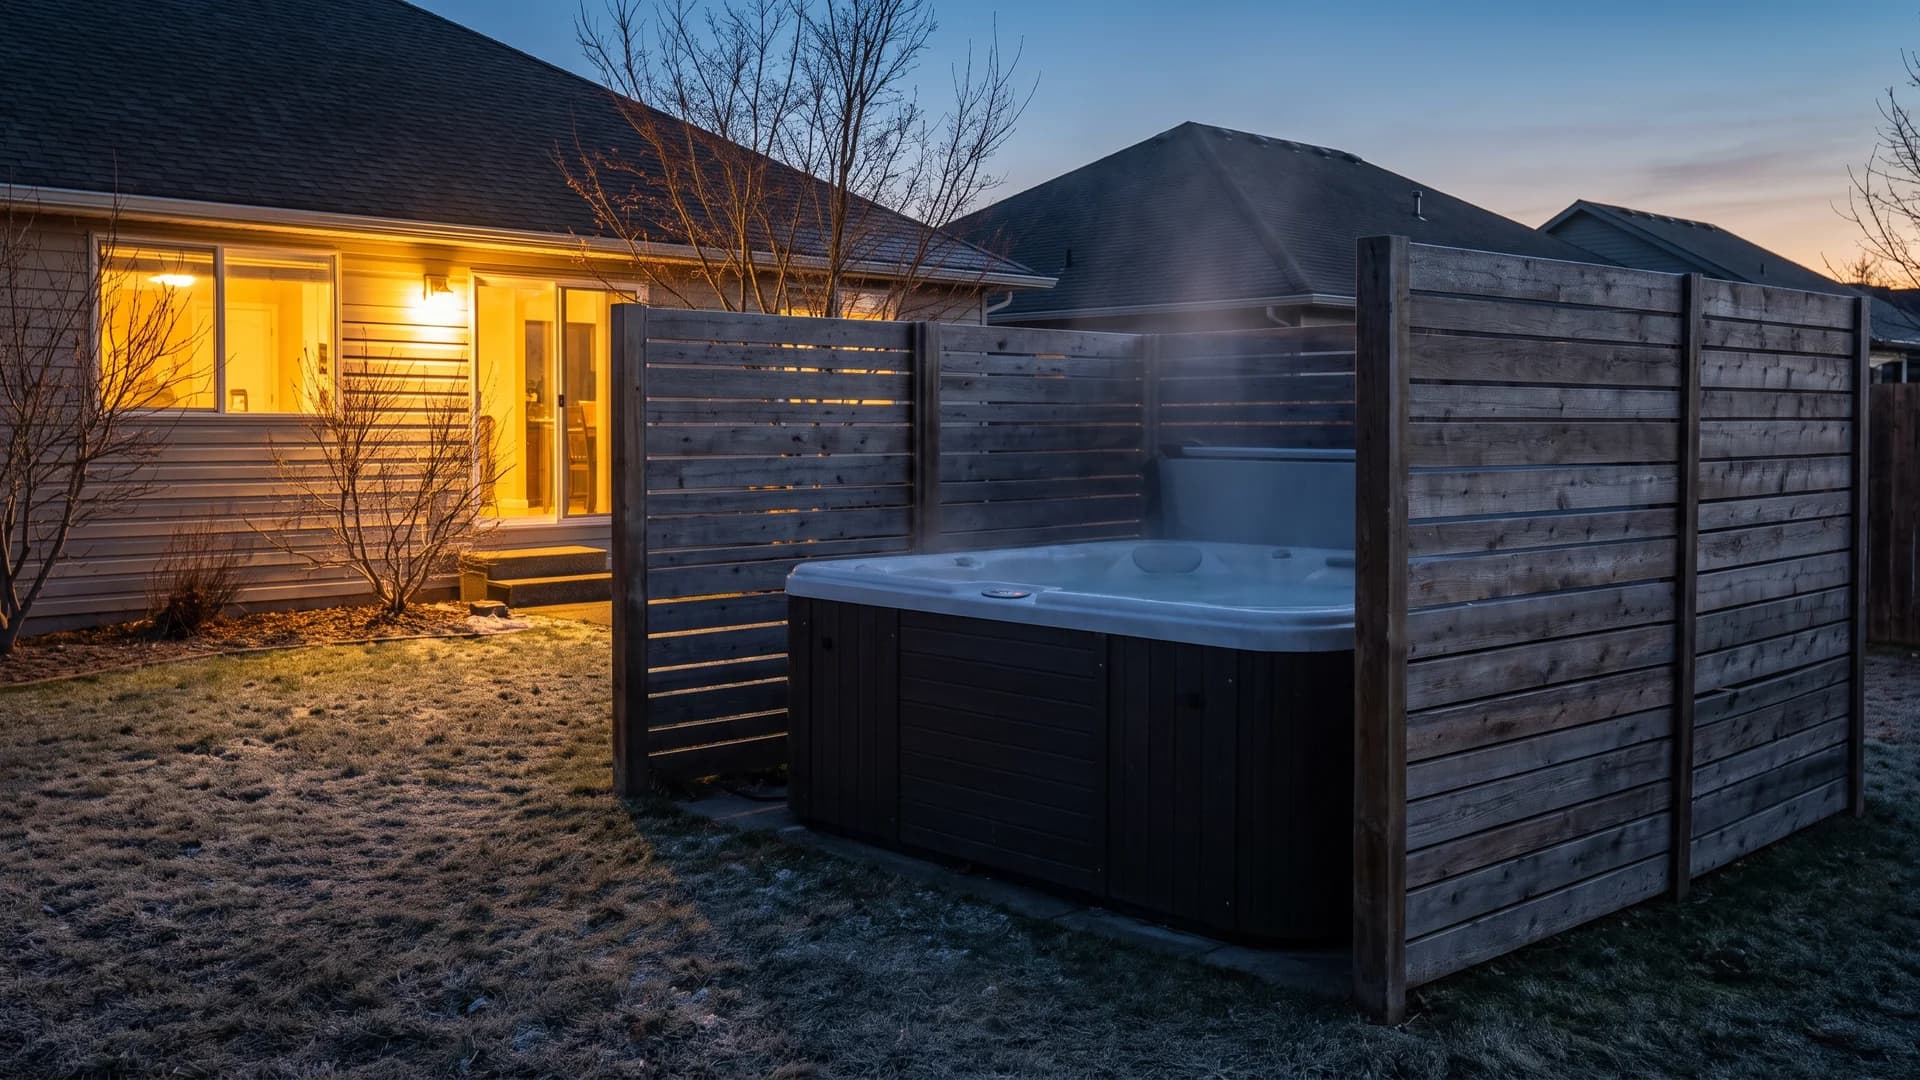
A hot tub is the one spot where privacy is the entire experience, and it takes up about 8 by 8 feet. Three slatted panels, 6 to 7 feet tall, on two sides and the back do more for it than screening the whole perimeter would, at a fraction of the cost. Leave the good-view side open. Run the slats horizontally with 1-inch gaps so steam and air still move instead of pooling.
20. Run water for the privacy you can hear
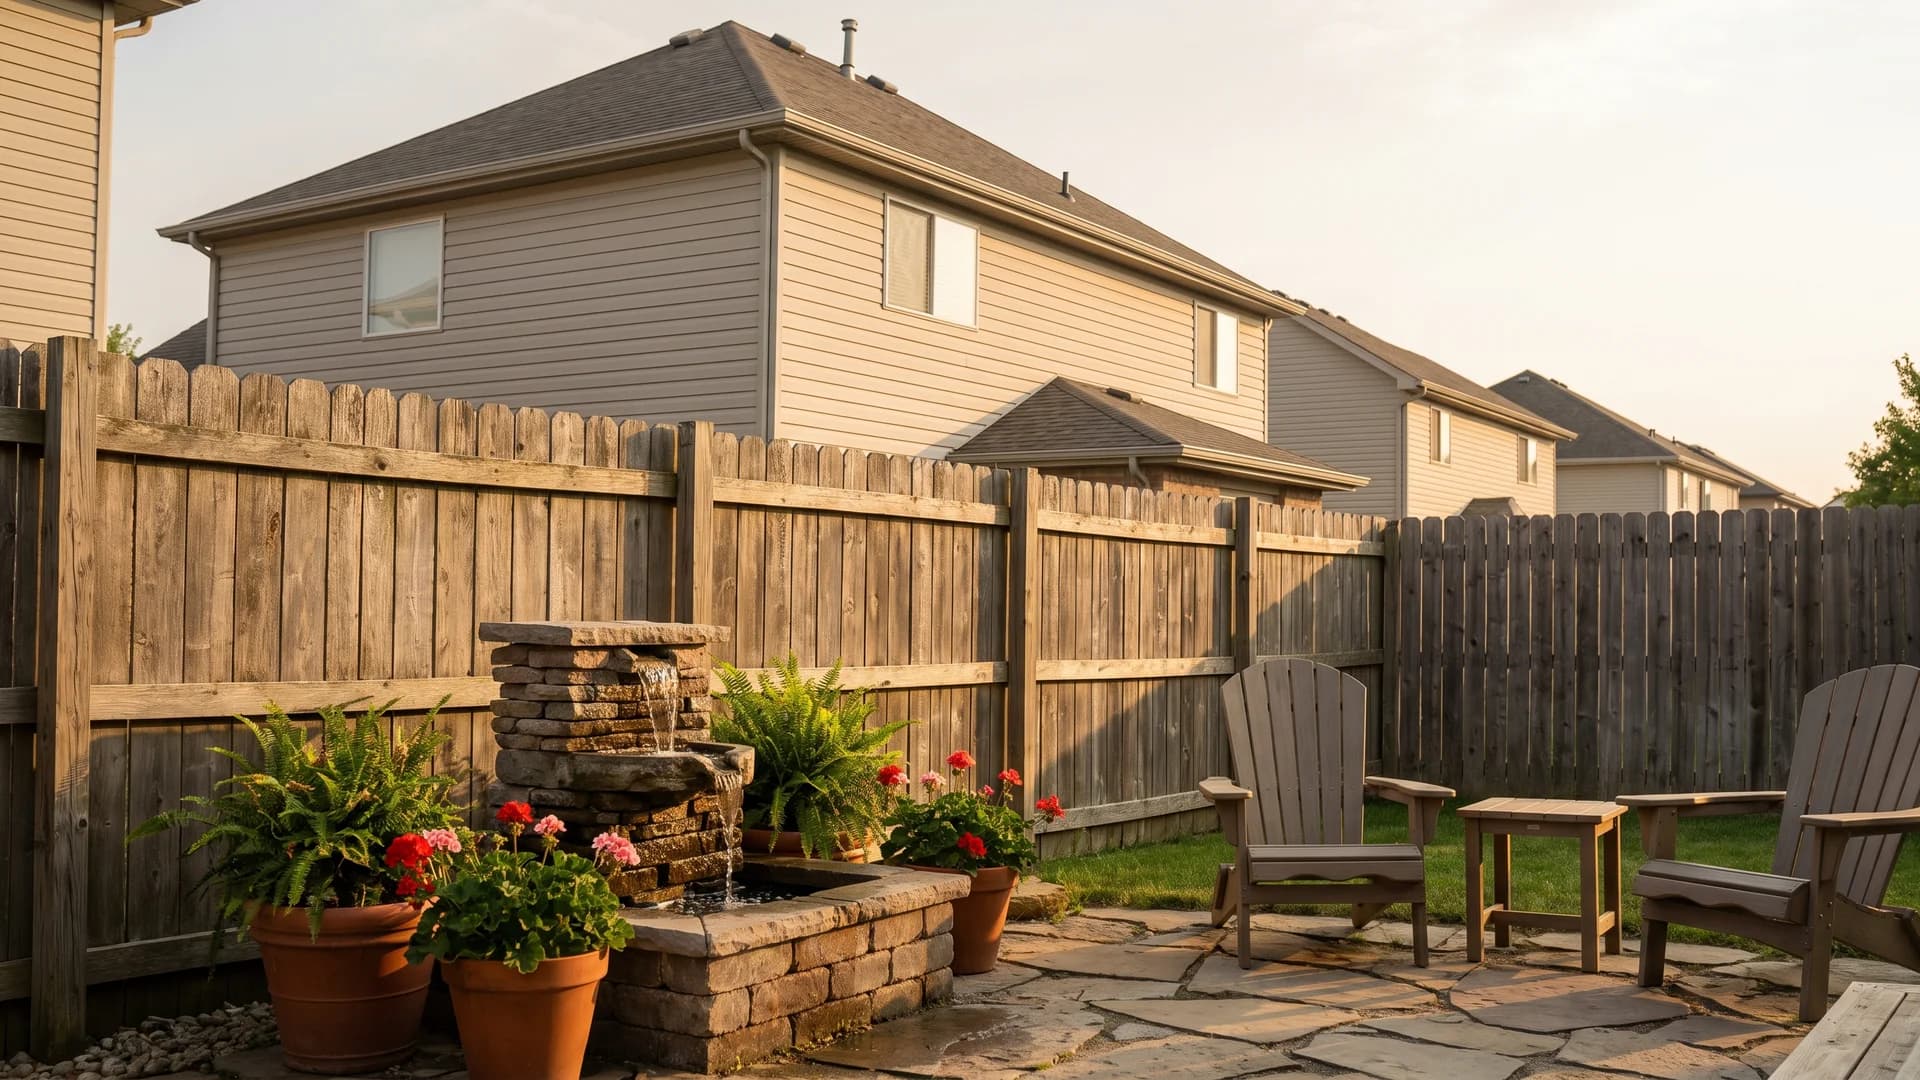
Conversation carries straight over any hedge you will ever plant. A recirculating fountain near the seating area, close to the shared fence, masks voices at short range because moving water covers roughly the same frequency band speech sits in. Be clear on what it does: nothing whatsoever for what people can see. Pair it with a screen, and put the pump on a timer so it runs when you are outside, not all night.
21. Screen the sightline, not the perimeter
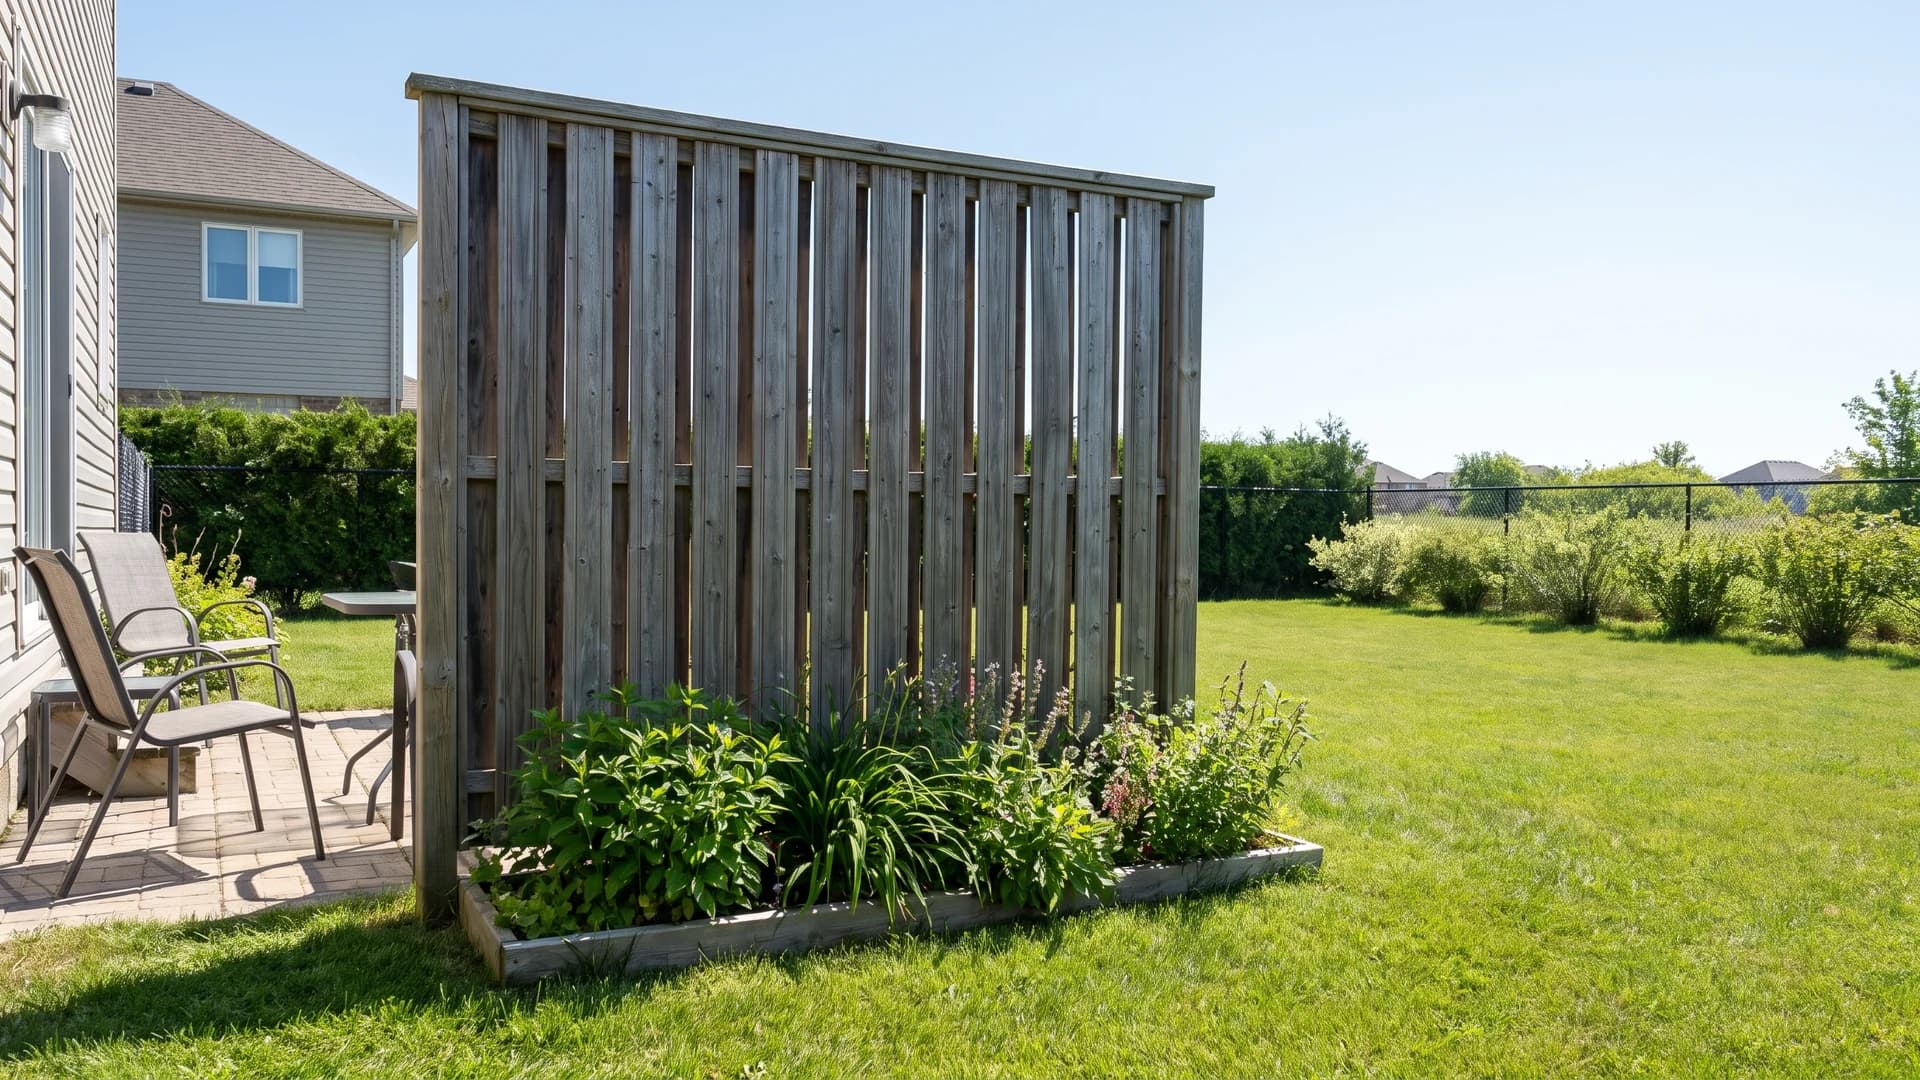
The move that saves the most money is the one almost nobody starts with. Sit in each spot you actually use, take a photo at seated eye level, and mark what is in the frame. Most yards come out of that exercise needing 20 linear feet of screen, not 200. Do those 20 feet properly, in the best material you can afford, and revisit the rest next year, or never.
Match the idea to your situation
- Renting or under an HOA: 17 and 10 are both reversible, plus 11 if the fence is yours to modify.
- Screening a second-floor window: 8 and 9. Nothing at fence height reaches that angle.
- Narrow gap between two houses: 12 first, then 5 if the strip is wide enough for two rows.
- Rough cost order, cheapest first: berms and grasses, then fence toppers and lattice panels, then a planted hedge, then a pergola, then a gabion wall.
- Small yard where enclosure is a risk: 14, 16, and 18 add privacy without shrinking the space.
- Cutting yard work generally, not just adding privacy: the same thinking applied to the street side is in our low maintenance front yard landscaping guide.
- Planting a screen this season: expect thin the first summer, respectable the second, and finished around year three or four. Budget for that gap or buy larger plants.
FAQ
How do I landscape my yard for privacy?
Start by finding the sightlines that actually bother you instead of screening the whole boundary. Sit where you spend time, note which windows and angles look in, and screen only those, using plants for anything above the fence height cap and structures where you need the block immediately. Seeing the options rendered on your own photo with AI landscape design is faster than guessing at heights from a nursery aisle.
How do I block the neighbors' view of my backyard?
Match the fix to the angle. A ground-level view over a fence is solved by a taller planting or a 2-foot fence topper; a view down from a second-floor window needs a small tree limbed up, a pergola, or a shade sail, because nothing at fence height reaches that far up. Check your local height limit before adding anything to a fence, since hedges are usually exempt and fences are not.
How do I add privacy to my backyard without a fence?
Layered planting, a berm, a pergola, a freestanding lattice panel, and container screens all create privacy without a fence, and several of them are reversible if you rent. A 3-foot berm planted with 6-foot shrubs gives the same block as a 9-foot hedge would, which is useful where fence height is capped at 6.
What plants are best for privacy?
Evergreens for year-round screening, deciduous shrubs and grasses where you only need summer cover, and small trees for anything above roof height. The real filter is your hardiness zone and your patience: fast growers need shearing or thinning to stay dense, and slow ones look thin for two or three seasons. Check that anything you buy 40 of survives your winter before you buy 40 of it.
What are the best fast-growing privacy hedges?
Fast usually means 2 to 3 feet a year, which buys a usable screen in about three seasons and commits you to shearing once or twice a year after that. The trade is real. Slower, denser plants hold their shape with far less work, so pick fast only if the wait is the thing you cannot accept.
What is the best privacy option for a backyard?
There is no single best one, only the right one for the angle you are blocking and the wait you can tolerate. A structure works today and costs more per foot; a planted screen costs less and takes two to four years. Most yards end up mixing the two: a structure at the seating area where privacy is needed now, and planting along the line that eventually takes over.